Import process run data from Control Room to Excel
Step-by-step guide on how to import all workspace's process run data from Control Room to Excel using the API.
Displaying process execution data from the Robocorp Control Room in various dashboard platforms is an everyday use case. This article will show you how to get the data to Excel using the Control Room API - step by step.
Prerequisites
- Robocorp Control Room account with at least one workspace and credentials to access the API.
- An API key created in Control Room having a minimum the following permissions:
Read processesandRead runs.
Connecting Control Room API to Excel
The following steps will take you through creating an API connection in Excel and fetching the data from Control Room API to a sheet. Follow the steps carefully, and look at the screenshots for reference.
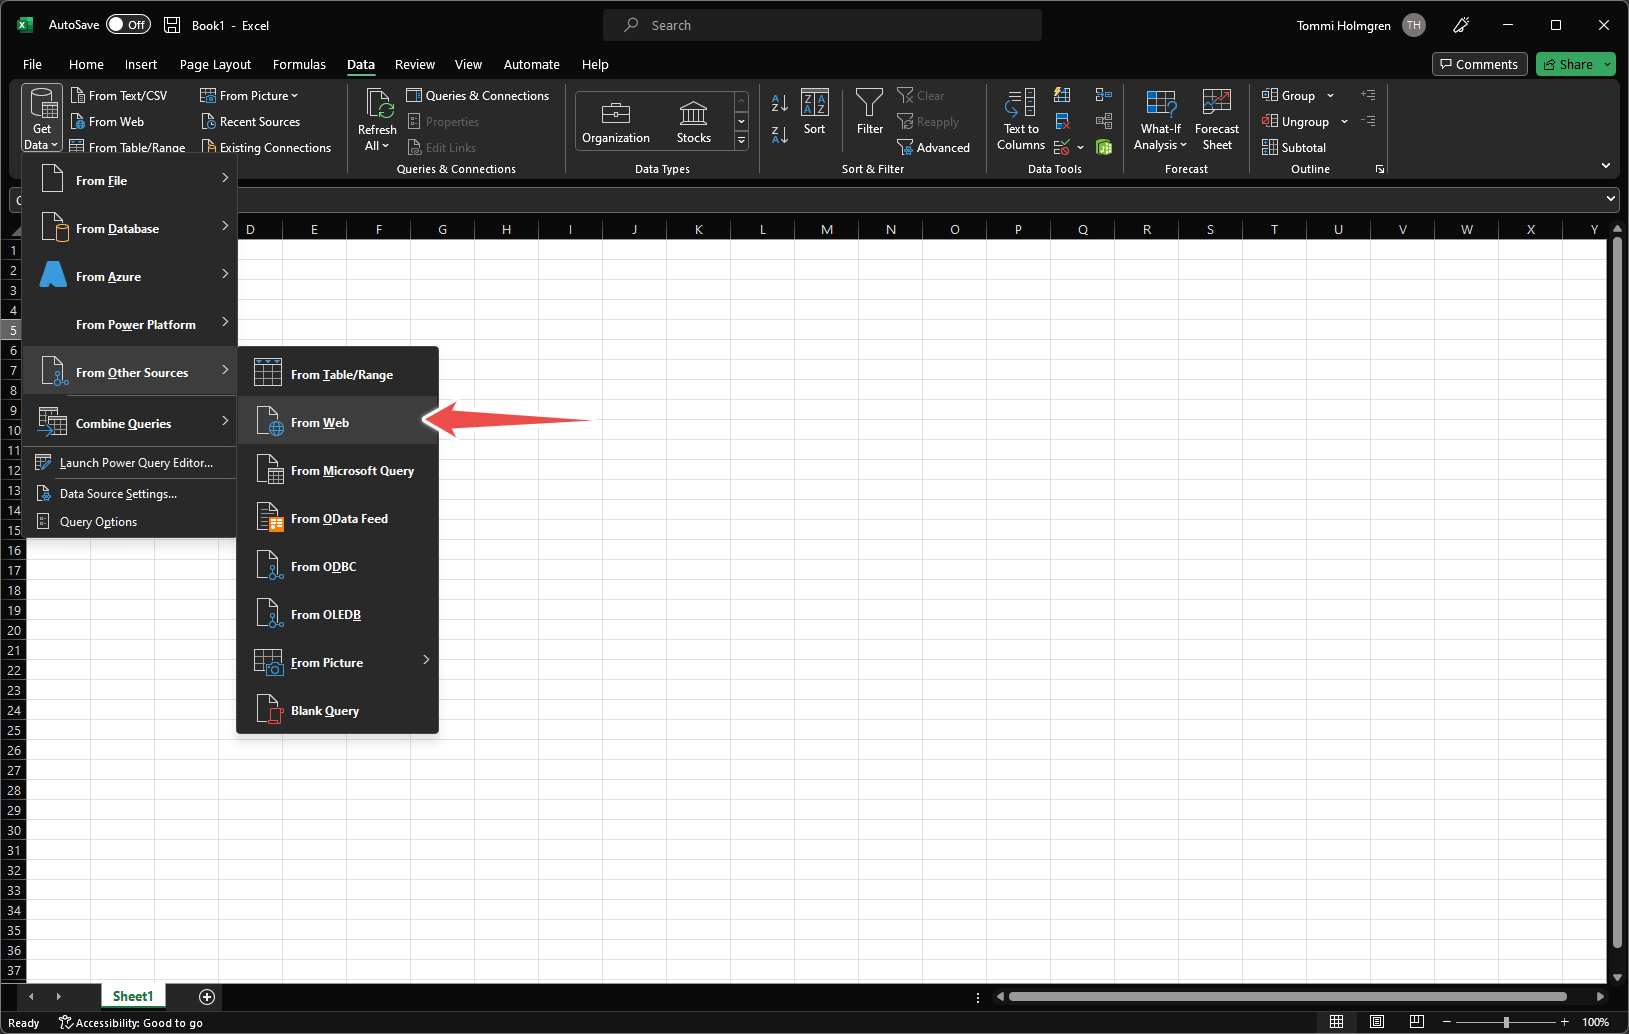
First, open a new Excel workbook and go to the Data tab. Next, click on Get Data, select From Other Sources and then From Web.
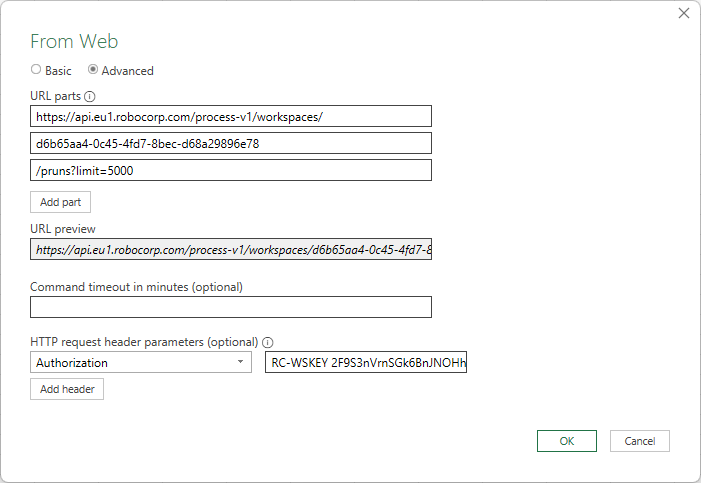
The configuration dialogue opens, and you'll need to construct your URL carefully. The easiest way to get these details is the API Helper tool in the top right corner of the Control Room.
Choose Advanced and then create three parts of the URL, first so that the middle part is the workspace ID. This way, it's easy to change it for fetching data from other workspaces. After that, the first and last parts of the URLs are the same for all workspaces in your organisation. Foor example in the case of the EU1 region (note that you might be on a different region, so check the API Helper for the correct URL):
https://api.eu1.robocorp.com/process-v1/workspaces//pruns?limit=5000
The last 5000 is the maximum number of process runs to be fetched. If you have more than 5000 process runs, you'll need to fetch them in batches. This is not covered by the tutorial yet.
Once the URL is ready, add an HTTP Request header called Authentication, and copy its value from the API Helper in Control Room. It looks like this: RC-WSKEY 2F9S3...VERY.LONG.STRING...haJrU
Once ready, hit OK!
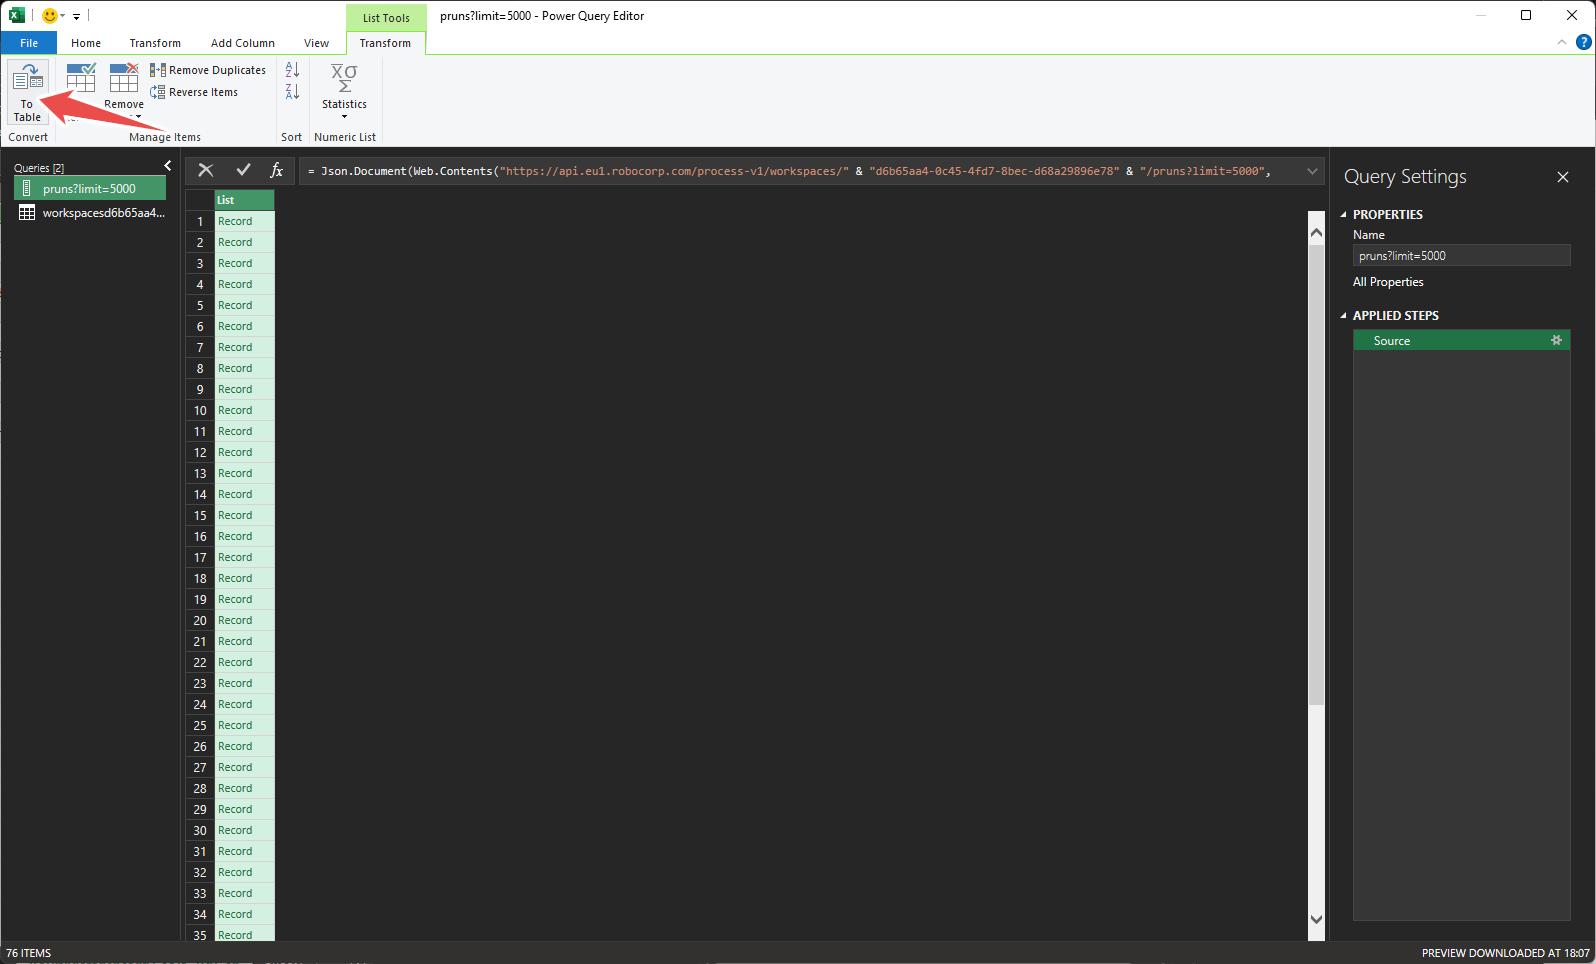
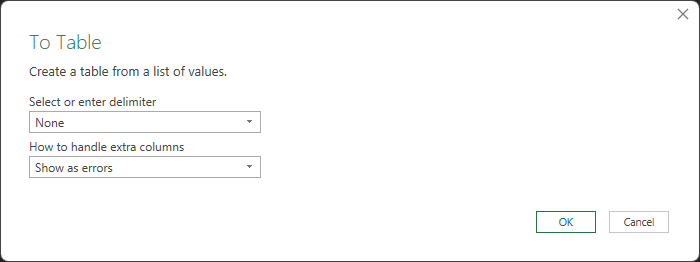
Now, you'll only have "Records" in the list. The JSON items need to be expanded to the individual fields. Click To Table from the Convert section in the toolbar.
In the dialogue, make sure to choose None as the delimiter (first option) and then click OK.
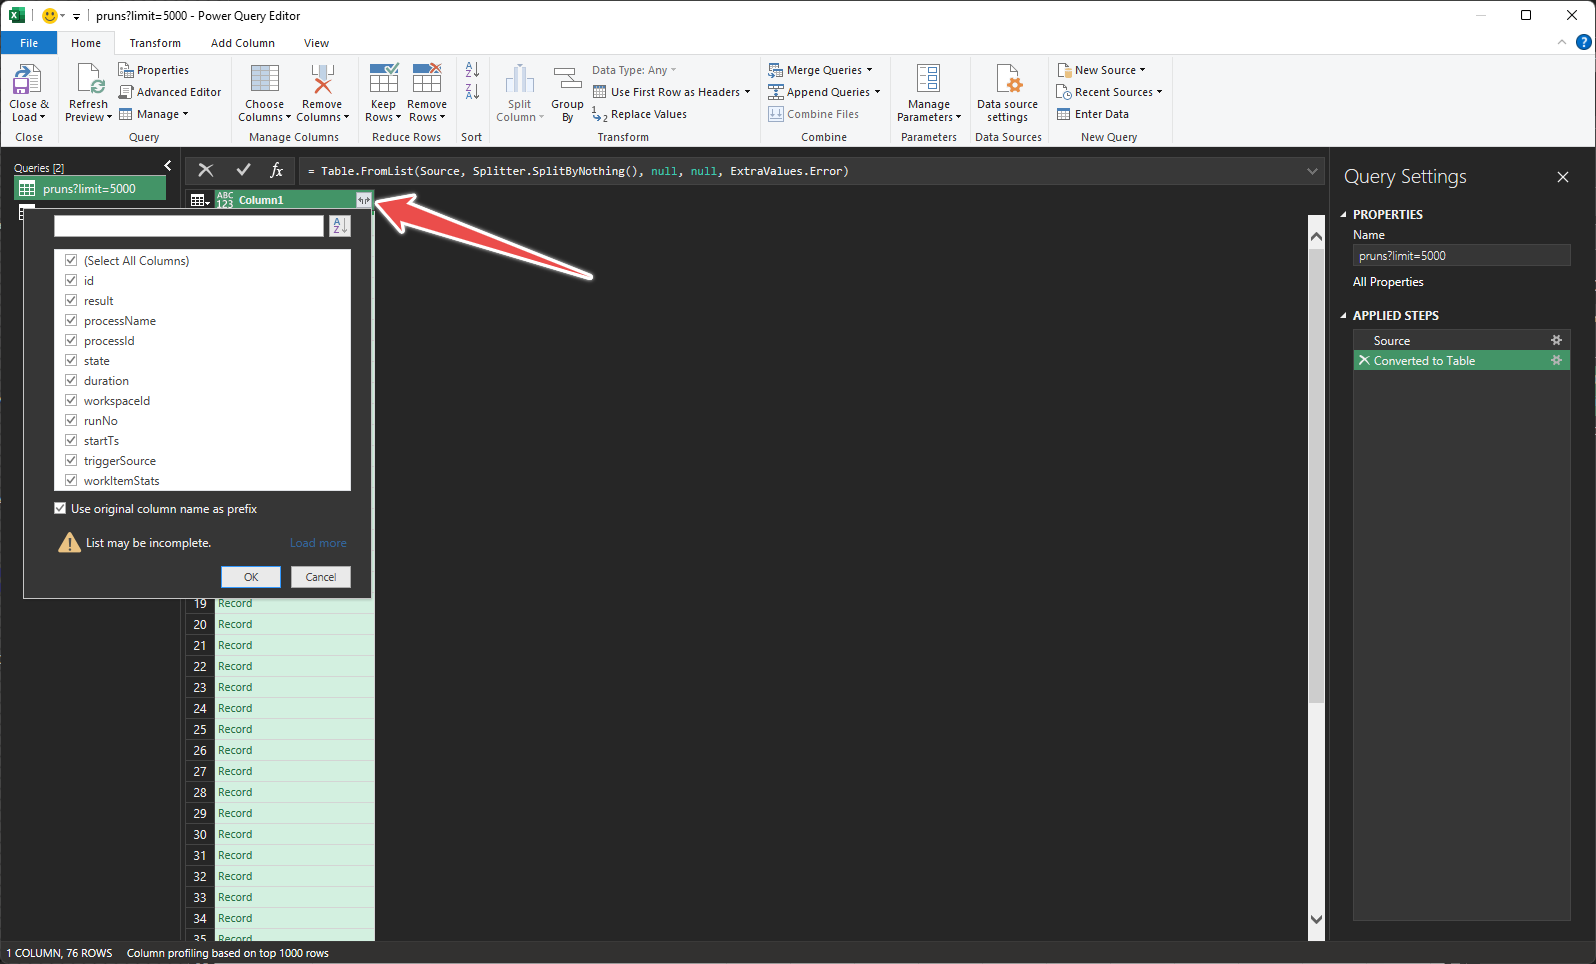
Next, choose the tiny columns icon at the top of the table, (see the arrow below). It allows you to select the fields you want to display in the table.
NOTE: As of writing this example, the workItemStats field's contents are not available in the API. It's a known issue and will be fixed in the future. It is recommended not to include this field.
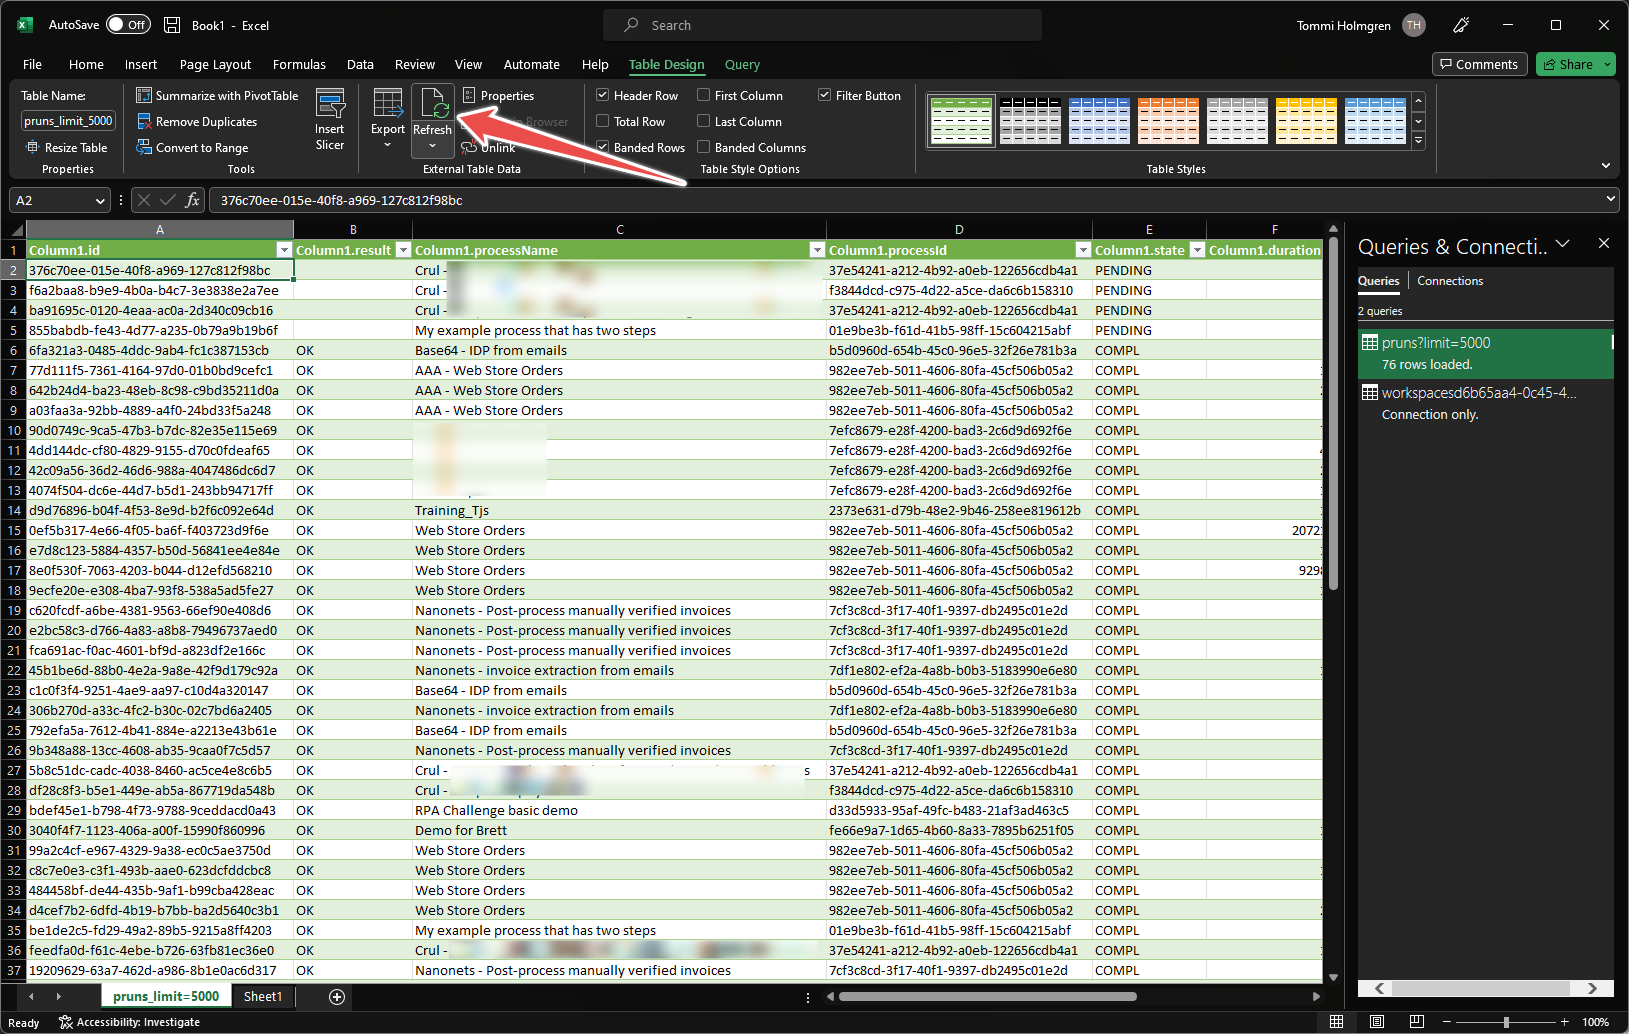
After hitting OK, your data expanded and looks like a real table already! Now just press Close & Load to get the data into the worksheet.

🕺All done! You can now use the data in your Excel sheets, for example, to create dashboards, pivot tables and whatnot.
When the time to update the data comes, all that is needed is the Refresh button in the toolbar.