How to handle Google's 2-step verification
Use the Authenticator to handle Google's 2-step verification in your robot code
What is Google's 2-step authentication
Many sites have integrated Google Sign-In to authorize users as part of their sign-in process. Google's Sign-In process can also include a 2-Step verification phase, based on the Google Security settings. This verification can be done in other ways as well (like by SMS), but the main focus of this article is to show a way to manage the verification using an Authenticator application, which provides Time-based One-time Passwords (TOTP).
The SMS verification could be handled by registering a number with a service like Twilio (https://twilio.com) and then read the SMS content using the Twilio REST API, but that approach can be the subject of another article.
Our Authenticator application, in this case, will be a Python CLI script which has been linked with the user account. It is also possible to link the same user account to multiple Authenticators, like a mobile application.
Read more at https://www.google.com/landing/2step/#tab=how-it-works
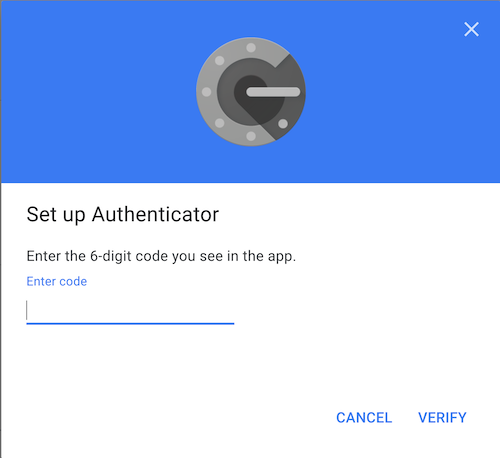
This is the usual page showing the input field to verify Google Sign-In with an Authenticator TOTP code:

How to set up an Authenticator
Add the authenticator pip package into your conda.yaml file.
The package we will be using is https://pypi.org/project/authenticator/, which provides a CLI script that we will set up as one of the Google Authenticator applications.
The above step adds the authenticator to your environment, but for the manual set up phase where we link this authenticator to Google account it might be easiest to install also in your local terminal with the command:
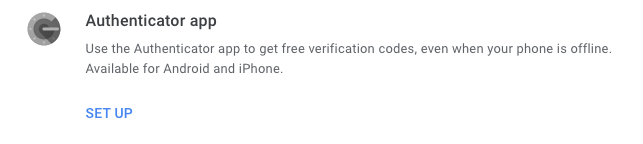
Next go to https://myaccount.google.com/intro/security page using the Google account you want to use with your robot. On the 2-Step Verification page, select the Authenticator app option.
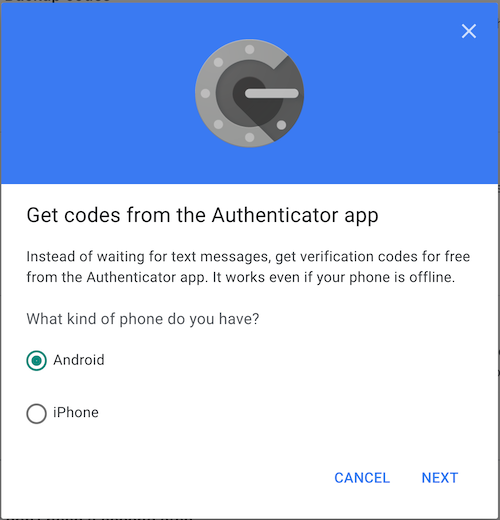
Select the phone type you want to set up as Authenticator app. This does not matter if you are only using this account with Python CLI authenticator, but select your phone type if you want to set it up as well at the same time.
Scan the barcode with your phone if you want to use that as well, but for our setup we will in any case click on the CAN'T SCAN IT? link.
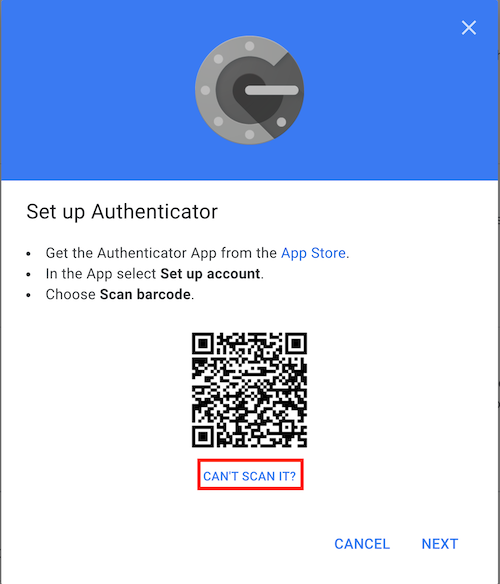
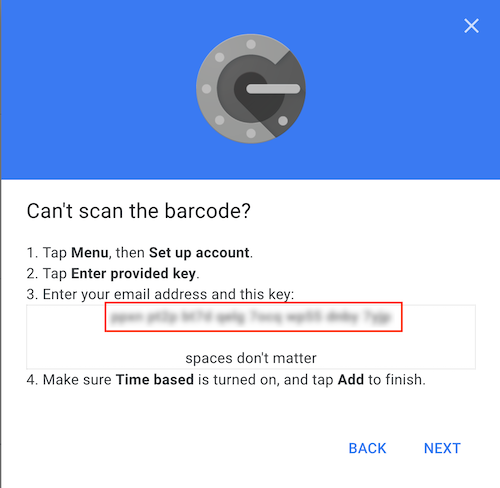
Copy the barcode code from the section shown below. Click NEXT and leave the browser window open, because we need to complete the last step of the Authenticator setup with the generated passcode that we will get from the Authenticator CLI script.
Next, we need to set up the authenticator script with our Authenticator key:
- the
--dataargument will determine the location of your authenticator. In the example above I am pointing it to theauthdatasubfolder in my robot resources folder. Theauthenticatorwill ask you to create apassphrasefor the data, which will be needed in the robot to access the generated TOTP codes. - add your google account after the
addargument - add a passphrase when asked
REMEMBER to store the passphrase in a secure location, you will need it to generate TOTP codes with the
authenticatorscript. - Paste the barcode key you copied in the previous step to
Enter shared secret:when theauthenticatorcommands asks for it.
Now we need to complete the Authenticator setup with a generated TOTP code.
Start to generate TOTP codes with the authenticator command. The command will ask for the passphrase, and then start to print out codes every 5 seconds. The codes are renewed every 30 seconds.
Copy the 6-digit TOTP code, paste it into the Set up Authenticator browser window, and click VERIFY to complete the
Authenticator setup.
Completing Google Sign-In in the robot
Now that we have a working authenticator app, as an example I will demonstrate how to complete the Google Sign-In on https://cloud.robocorp.com.
Libraries
We need to use multiple libraries for this robot:
RPA.Browser.Selenium: used to access https://cloud.robocorp.com and to interact with page elements.RPA.Robocorp.Vault: used to access the user'sVaultin Control Room.- Robot Framework core library
String: used for regular expression matching. - Robot Framework core library
Process: used toRun Processand read stdout content from those processes. - Robot Framework core library
OperatingSystem: used toRemove Filewhich is created during robot run.
As a Task Teardown, we will close all browsers opened during the execution of the task.
Variables
We will set some variables to not repeat text and to allow easier robot parameter modification.
All sensitive variables have been stored into Control Room Vault. The ${GOOGLEAUTH_TITLE} text need to match your account language setting.
Keywords
Keyword Input text and proceed is used to incapsulate repeatable actions during the Google Sign-In process. As arguments, it gets an ${element} locator and the ${text} to input into the locator.
The keyword Get Authenticator Code will execute authenticator using the shell, whilst echo pipes the passphrase into the authenticator command.
Another keyword argument ${googleuser} is used to find the code in the authenticator output by regex matching, which the keyword then returns.
The Keyword Complete Google Signin is responsible for completing the Google Sign-In. This keyword gets the argument ${startelement}, which defines the element locator starting the process.
The default value has been set here to the locator needed for the Control Room sign-in process.
The keyword reads secrets from Control Room Vault before it starts to interact with page elements.
Before the final stage of inputting the Authenticator code for 2-step verification, the code is retrieved with the Get Authenticator Code keyword.
Task
We have a simple task that will open https://cloud.robocorp.com and sign-in using Google Sign-In process. As proof we take a screenshot when the page contains the Control Room welcome text Welcome Mika! after successful sign-in.
Here is a Robot file containing all the code for the robot above: task.robot
Technical information
Created
31 August 2021