RCC workflow
This article demonstrates an example workflow from creating a new robot using RCC to successful execution in the target environment from the cloud using Control Room.
Let's get started!
Prerequisites
- RCC installed and running.
- A Robocorp account for accessing Control Room.
- Some experience using the terminal or the Command Prompt is useful.
Initialize the project structure using RCC
How should I organize my code? Where should I place my files? Is there a naming convention I should follow?
Those are some of the questions that RCC can help you with.
Navigate to your project directory in the terminal or the command prompt. Create a new robot:
This command will make a new my-robot directory and initialize the recommended file structure for the robot, with an example task based on the template you chose.
Navigate to the robot directory:
Adding Python packages
You can add additional Python packages to the run environment using the rcc robot libs command. For example, adding numpy as a pip package:
The environment setup is described in the conda.yaml file in your robot. This command will take care of updating the conda.yaml file for you. When the robot is executed with rcc, its environment will include the new library.
Run your robot locally
You can run your robot from your development directory using the rcc run command.
This will use the development directory as the root, so you will find your artifacts and logs in the defined output folder directly.
If you have defined more than one task in your
robot.yamlfile, you can run them one at a time by providing the task name with the-targument.
Test run your robot locally in a clean environment
Before pushing your robot to Control Room, you can test your robot using the rcc task testrun command.
The rcc task testrun command will deploy the robot to a temporary directory, simulating the deployment to Control Room. This command will create a new local directory under the testrun directory where output artifacts and logs of your robot will be moved to.
When the robot execution works locally on your machine, you can push it to Control Room.
Create a robot package using RCC
A package can be useful if you manually want to upload your robot to Control Room.
Create the package using the rcc robot wrap command:
This will create a robot.zip file.
Setup Control Room
To be able to execute your robot in Control Room, you will need to do some setup there.
Log in to Control Room.
-
Select or create the organization and the workspace where you want to run your robot.
-
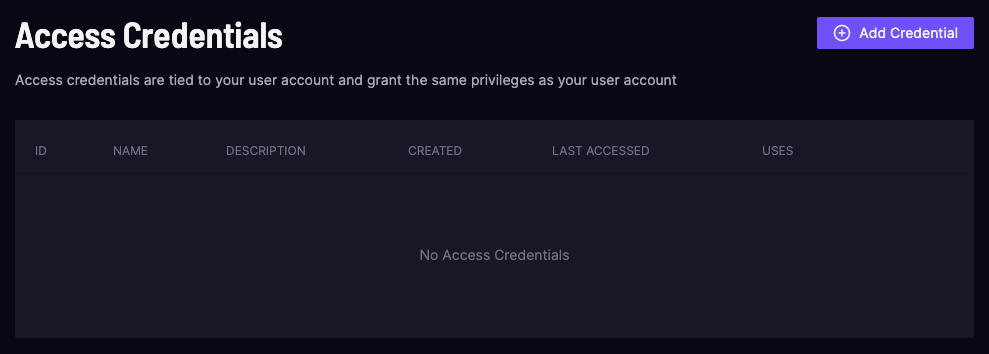
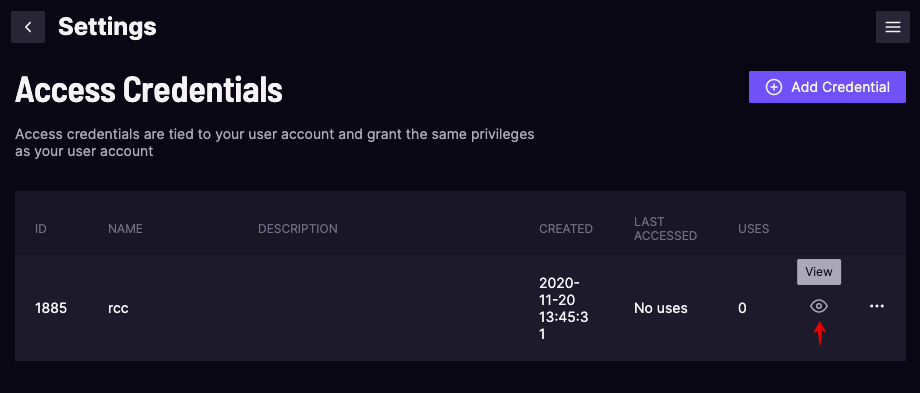
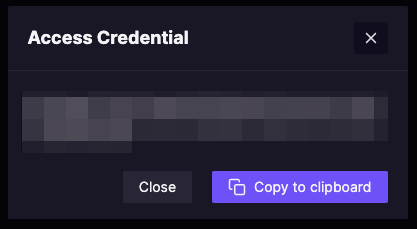
Navigate to your user settings, and create access credentials for RCC in Control Room. RCC needs these credentials to communicate with Control Room. Copy the credentials to the clipboard.
Provide the access credentials to RCC
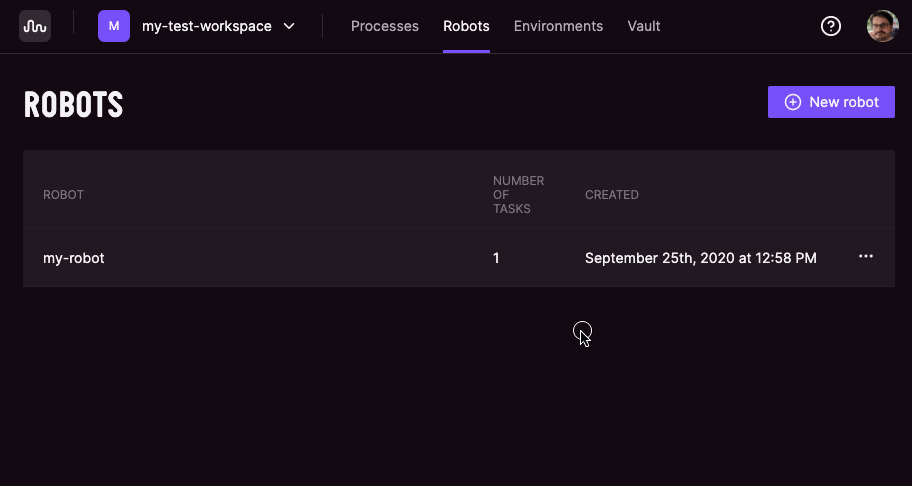
Create a new robot in your workspace using the CLI
You can create a new robot in your workspace with the rcc cloud new command:
The output will look like this:
You can find the id of your workspace by running the cloud workspace command, which will show you details about all the workspaces you have access to:
Push your local robot to Control Room
You can now push your local robot to Control Room using the rcc cloud push command:
Note that you can indeed upload the robot from Control Room UI, too. RCC provides a way to complete the upload without the need to use the Control Room UI. This can be useful when doing iterative development, since you do not need to leave the command-line to upload packages, etc. Other use cases include automated Continuous Integration builds, where you want to periodically upload the current package without manual intervention.
The
rcc cloud pushcommand combines wrapping the robot into a package and uploading it to the cloud. You can also achieve the same result by executingrcc robot wrapandrcc cloud uploadindividually.
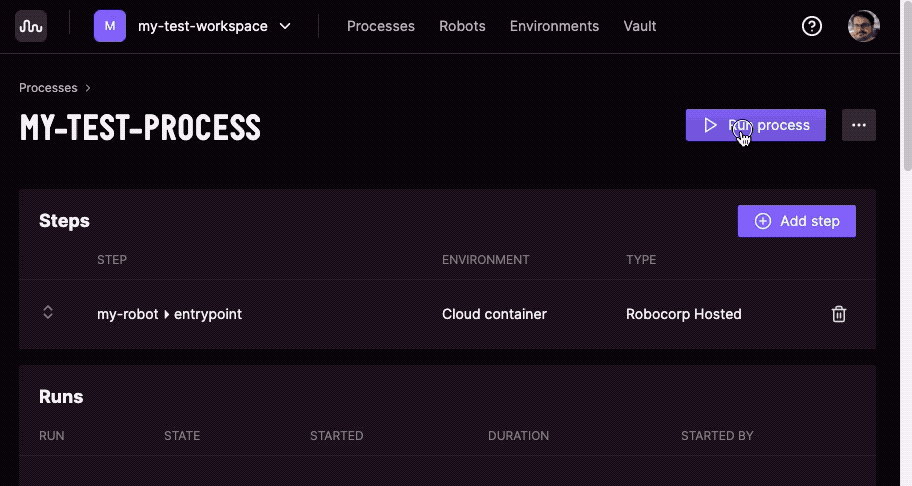
Create a process and add your robot step to it
Create a new process in your workspace, and add your test robot to it:
Run the process
Execute the robot from Control Room. After the run is done, you can see the artifacts logs in the UI.
Iterate
You can iterate the development of your robot either locally or through the cloud.
Iterating locally consists of coding and running.
Cloud iteration consists of coding, optionally test-running, pushing, and executing.