Image-based locators in Visual Studio Code
Some applications do not expose their internals in a way that can be targeted using textual locators. In these situations, you can try image template matching. This example demonstrates the use of image templates with the Calculator application on macOS.
👉 With Image-based locators, it is crucial to note that for them to work, settings like screen resolution, active theme, color depth, light mode/dark mode, etc. must match between the systems, or else image-based locators will struggle to work.
The RPA.Desktop library is a cross-platform solution for navigating and interacting with desktops of different operating systems (Windows, Linux, macOS!). It can be used to automate applications through the same interfaces that are available to human users.
Add the
rpaframework-recognitionpackage as a dependency in theconda.yamlfile to enable image template matching:
Open the Inspector
- Click the Robocorp icon in the Activity Bar.
- From the
Package Resourcespanel, expand theWindowsmenu and selectNew Image Locator ....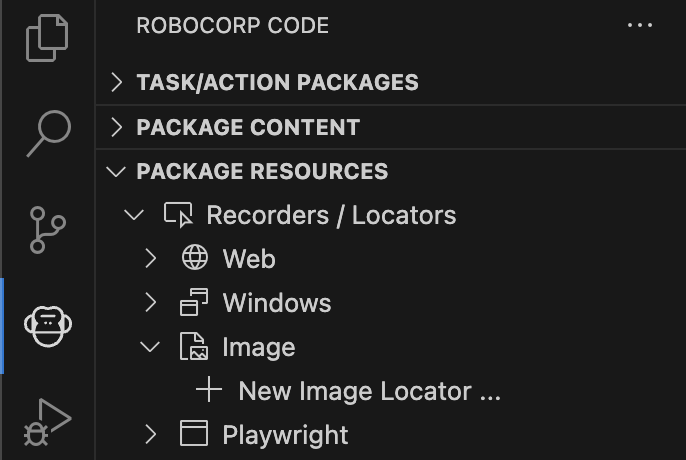
Create a new automation flow
A Robocorop Inspector tab will appear inside VS Code:
Press the Take snapshot button to add a new locator:
macOS: VS Code will ask for permissions. Go to
System Settings->Security & Privacyand checkVisual Studio Codein theScreen Recordingsection.
The mouse cursor changes into a crosshair. With the crosshair, drag a rectangle around the element you want to capture, in this case, the entire calculator application to check that it is displayed.
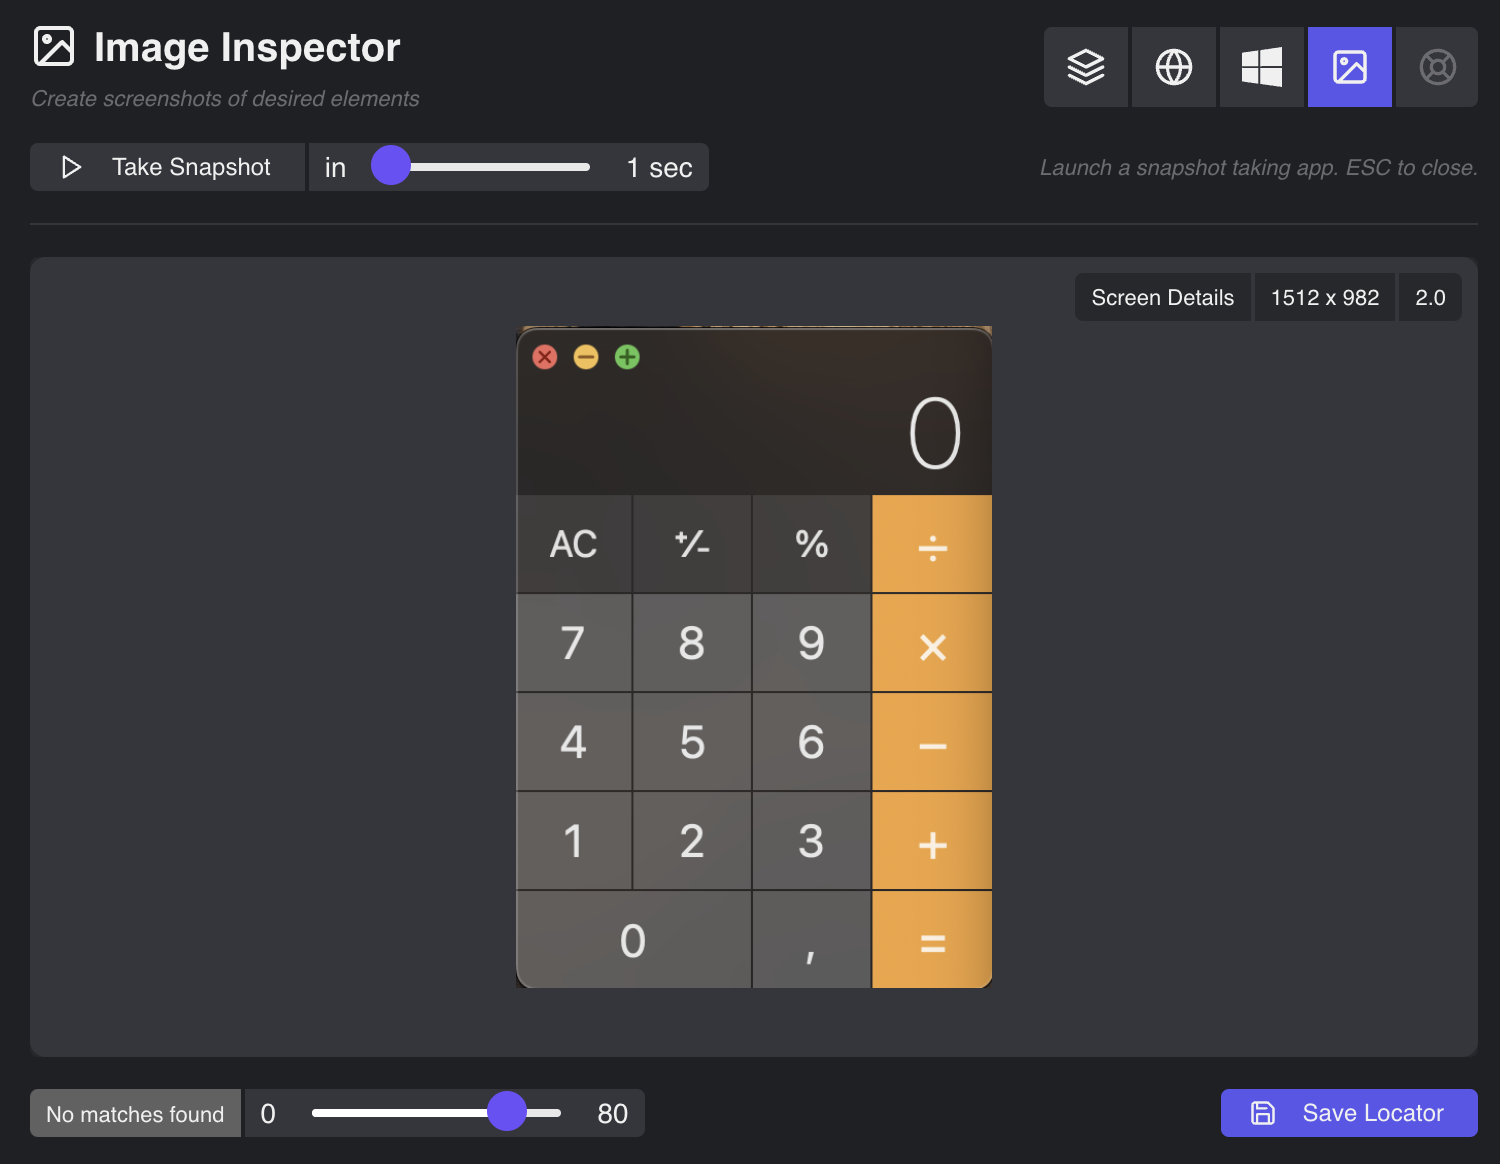
When running the robot, the mouse click will target the center of the selected image.
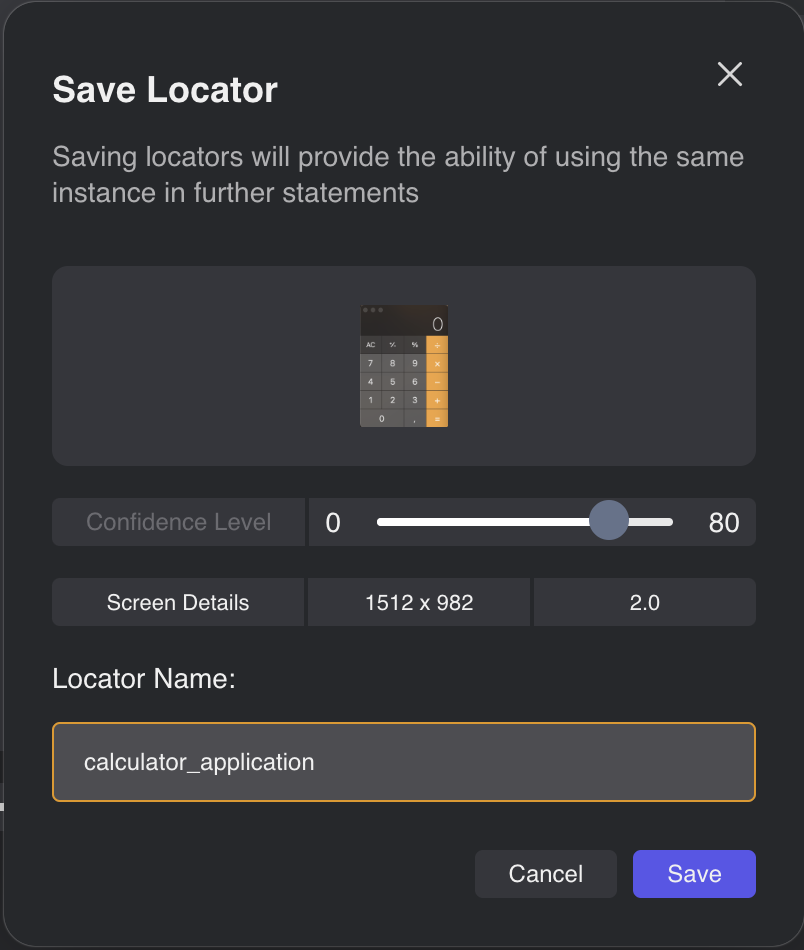
VS Code saves a screenshot of the selection. Select Save locator:
Provide a name for the locator (calculator_application) and click Save:
The locators are stored in the
locators.jsonfile at the root of your robot. The images are stored in the.imagesdirectory. The files can be shared with other developers. This way, you can build locator libraries for your applications and reuse them over and over again!
Copy the UI locator alias to the clipboard using the copy button:

Paste the UI locator alias into the robot script:
macOS: When running your code, VS Code will ask for permissions. Go to
System Settings->Security & Privacy->Accessibilityand checkVisual Studio Code.
Now that we have the main view located, we need the rest of the elements for our automation.
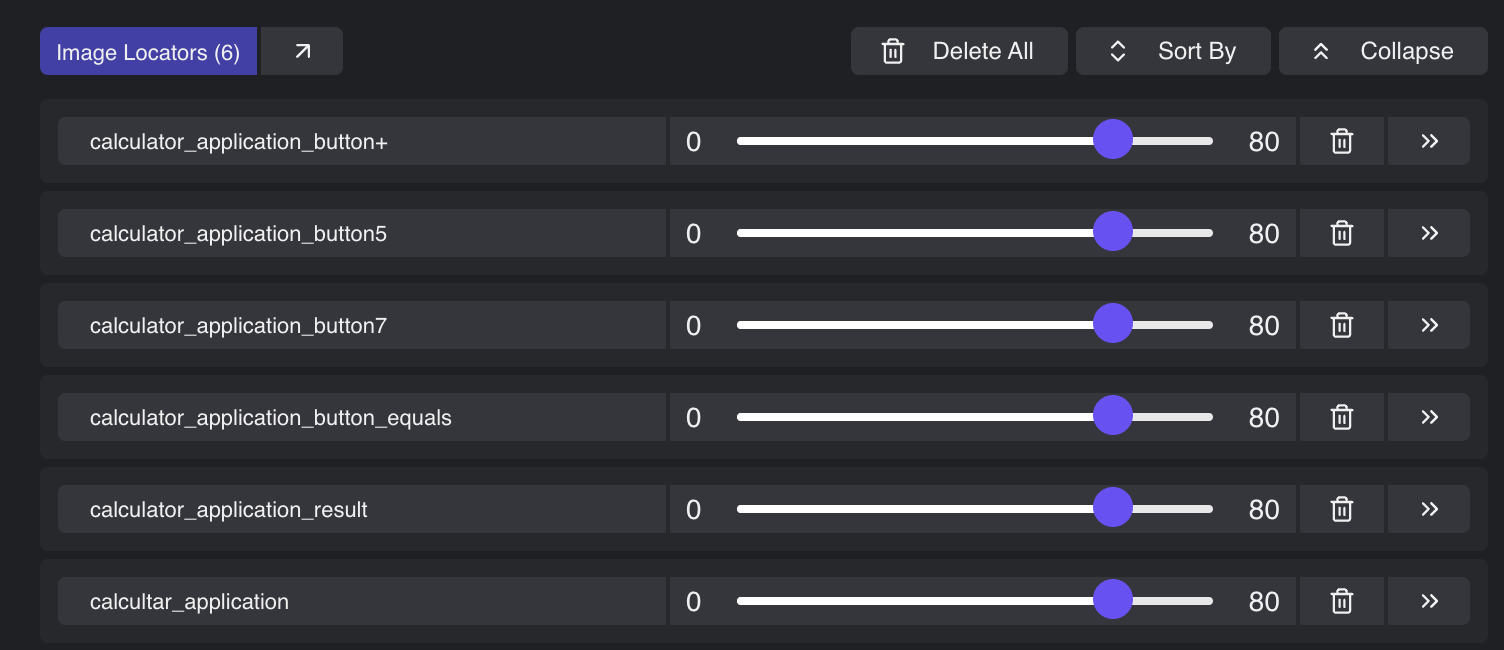
Repeat the above steps, for the 5, 7, +, = buttons and results view.
To view saved locators, go to Locators Manager.

After you saved all the required locators for your flow, your locators should look like this:
Code snippet
This flow does the following:
- works if the
Calculatorapplication is already open - executes the flow:
5+7= - checks the displayed result
The above code works on windows as well.
Performance considerations
The image template matching takes a screenshot of the entire screen for every match operation. This can add a 500-1500ms delay depending on the operating system, screen resolution, CPU, and other factors.