Running your robot in Control Room
Now that our robot is done, what used to take Maria hours each week now happens in a matter of seconds!
There is still one detail, though: Maria would need to install VS Code or Automation Studio, download our robot code, run the robot manually... It beats copying and pasting data for hours each week for sure, but we can make life even easier for her: it would be great if the robot could run automatically in the cloud, for example, every Friday at noon. How can we do it?
By using Control Room, of course!
A factory in the cloud
Control Room is Robocorp's deployment and orchestration platform. Control Room runs in the cloud, but can run robots in the cloud, on local machines, and in custom containers. Control Room is also used for managing robots that run as assistants on the computers of end users. You can run robots on Control Room on-demand, on a schedule, or make them into assistants.
Think about an old school car factory: you have various assembly lines, which are set up so that a series of operations are performed on the car that moves down them. Control Room works the same way. You set up an assembly line (the Process), and you can add to it multiple operations (the Steps) that are performed on whatever you are working on.
Our robot is really simple for now, and it fits all in one step, but in the future, we could add more, or we could decide to split the robot into multiple steps, and Control Room supports that easily.
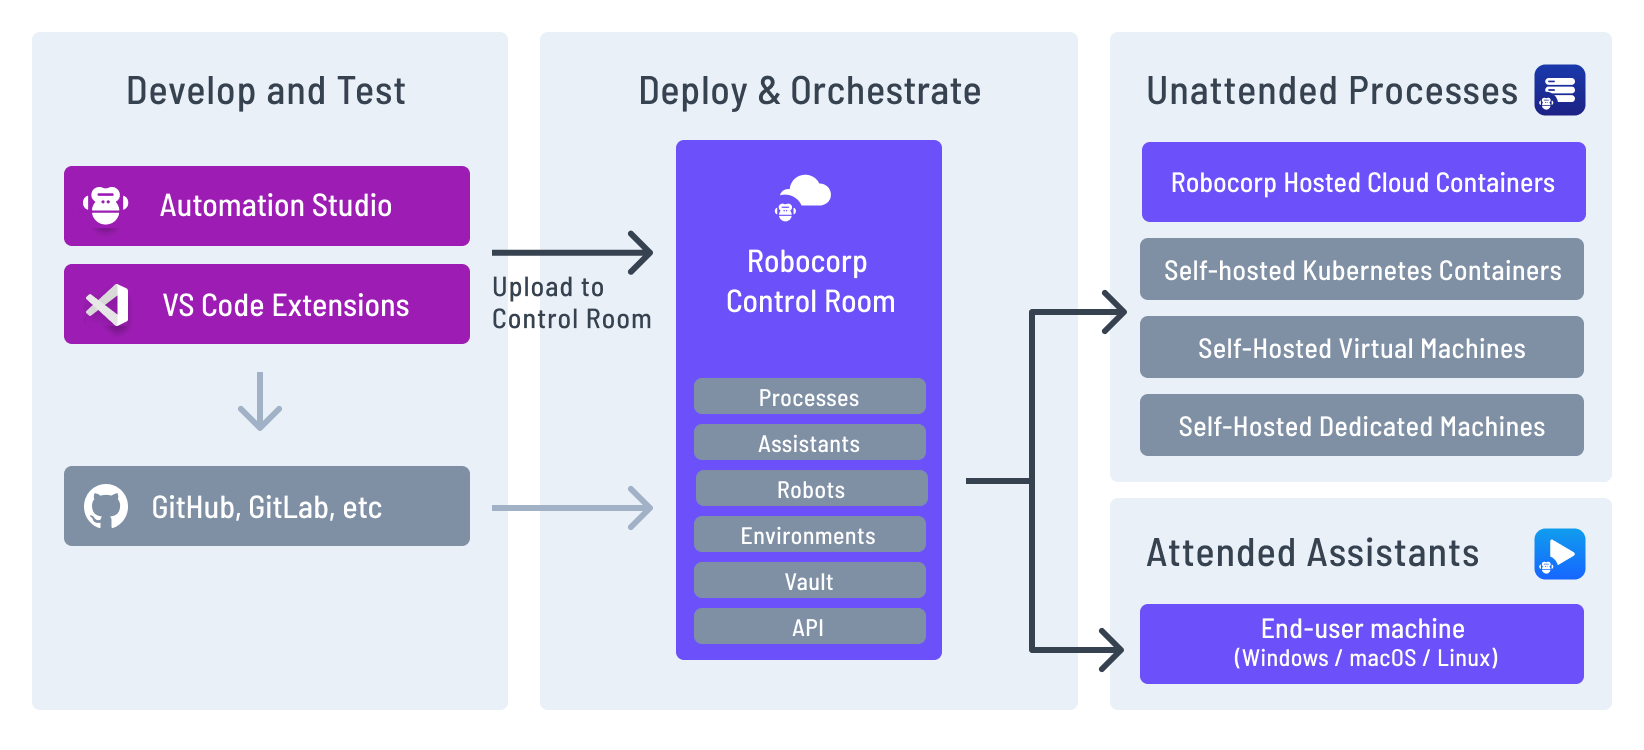
There are two ways to publish your robots to Control Room:
-
The easiest way to bring robots created with Automation Studio into service is to upload robots directly to Control Room. There the robots can be scheduled, run manually, or be set up as assistants.
-
For more flexibility, it is also possible to synchronize robots with Control Room via version control, such as GitHub or GitLab. This works equally well for robots developed in Automation Studio and VS Code.
Control Room is very powerful and can support very complicated workflows. What we see here is the easiest possible scenario. Beginners' course, remember? 😀
To set this all up, we will have to go through these steps:
- Logging into Control Room
- Creating a new Organization for RobotSpareBin Industries
- Creating a new Workspace
- Creating a new Robot
- Uploading the robot code
- Creating a Process (the "assembly line", remember?)
- Adding the Step to the Process and setting it up
- Executing and scheduling the process.
Still with us? Great!
Logging into Control Room
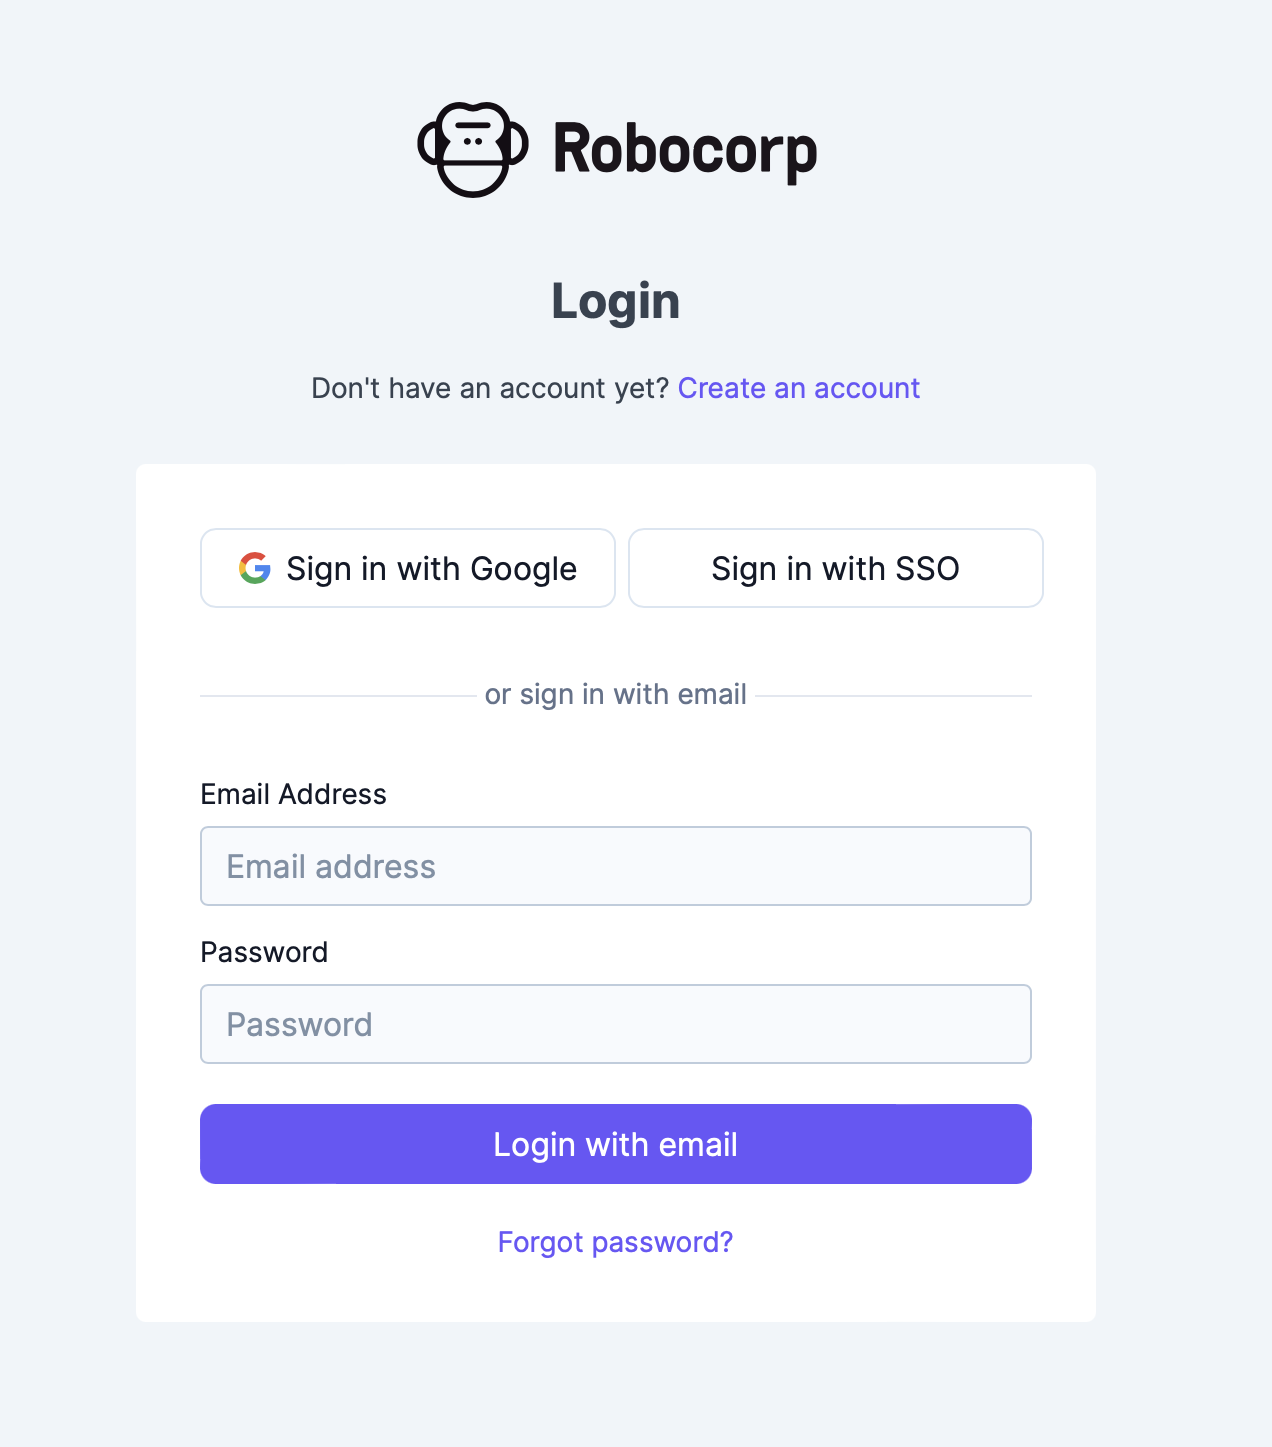
Log in or Sign up to Control Room. Click on Create an account if you don't have one yet.
Organizations and workspaces
Organizations allow you to group users, workspaces, processes, assistants, and robots. You are sure that this robot will only be the first of a long list, so you decide to create an organization for RobotSpareBin Industries!
A user may belong into multiple organizations.
For this course, you can either use the automatically created organization or create a new test organization with RobotSpareBin Industries as the organization name.
Inside the organization there are workspaces. A common use case is to create a workspace for the production and one or more for development and staging. You can also create workspaces for different types of automations or for sub-organizations.
When you create a new organization, a workspace is created automatically, but you may also create one for this course, and call it, for example Production.
Uploading the robot code to Control Room
First, make sure your VS Code is linked to your Robocorp account.
Ok! We have the robot on our computer. It's time to send it soaring into the cloud by uploading the robot code.
- Open the Command Palette (macOS:
Shift-Command-P, Windows:Ctrl+Shift+P). - Type
upload robot, selectRobocorp: Upload Robot to the Control Room, and pressEnter. - Select
Create new Robot. - Type
Sales Data Robotas the robot name and pressEnter. - You should eventually see a success message at the bottom of the VS Code screen.
Whew! That's our robot setup taken care of. Let's move to the Process!
Creating a new process and adding the robot step
Let's go back to Control Room to create a process.
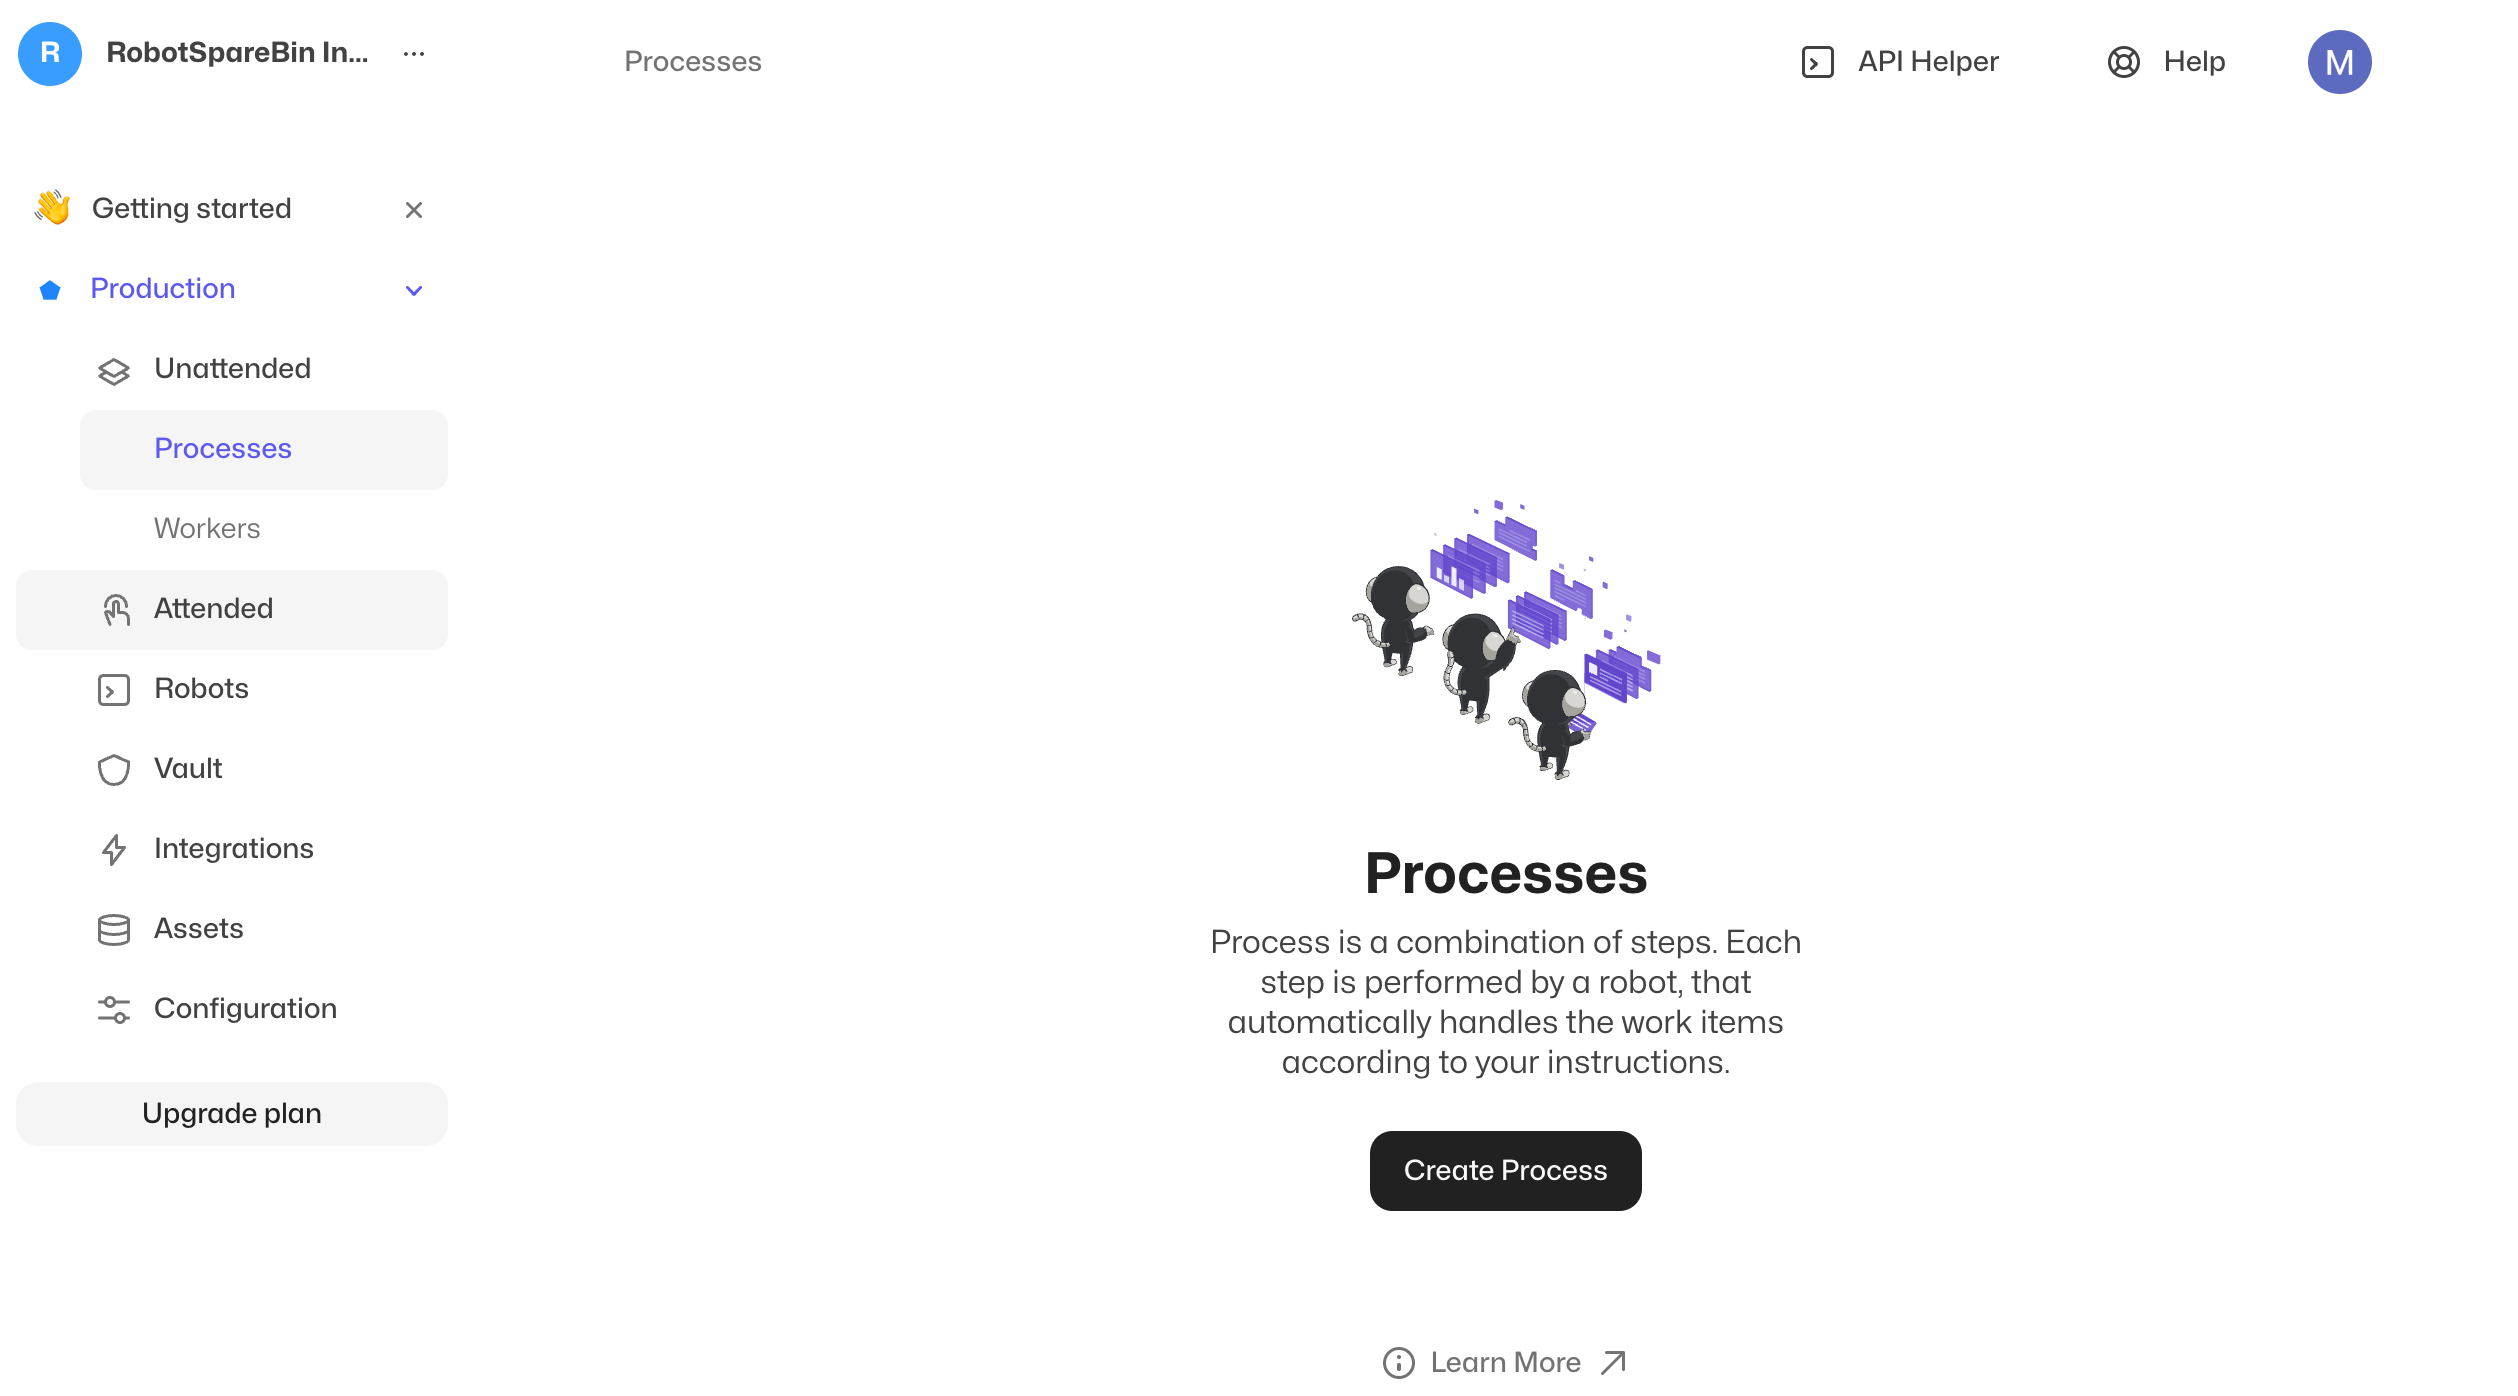
Click "Create Process" to create a new process and give it an evocative name, like Maria's weekly copy paste marathon and press Continue.
Think of all the robots you will add in Control Room as your "robot fleet in the garage": you have them safe there, and they are available when needed in your processes.
Next, we want to associate our robot to our process, and select an unattended worker for it:
Under the Steps section, from the Add Robot dropdown, select Sales Data Robot > Minimal Task.

Leave the Worker selection as Cloud Worker and Click the Continue button.
Let's skip the Schedule configuration just for a bit, so click Continue once again.
And now, to save our process, click Create Process.
Wait, what is an unattended worker? 🤔
Each time you ran the robot during development, you were running the robot on your local computer.
When using Control Room, the robot can be executed in different ways. The easiest way is to run the robot in a Cloud Worker, something we can call a "virtual machine".
It's not really a virtual machine. It's a Docker container. There's a difference, you want to know more? (You nerd! 🤓)
For now, it's enough for you to know that in Control Room, all robots need an unattended worker to run, and the easiest way is to use the Robocorp-Hosted Cloud Worker, so that everything happens in the cloud and you don't need to setup anything.
This is not the only option: you also have the possibility of having your computer (or Maria's) running the robot locally, but triggered by Control Room. When moving on to future automations you can find the correct setup for you.
Whew! That was a lot of clicking! But now the fun starts!
Running the process
All is set now for our robot to run in the cloud!
Click on the Run Process button at the top and select Run from the drop-down that appeared. The robot starts running!
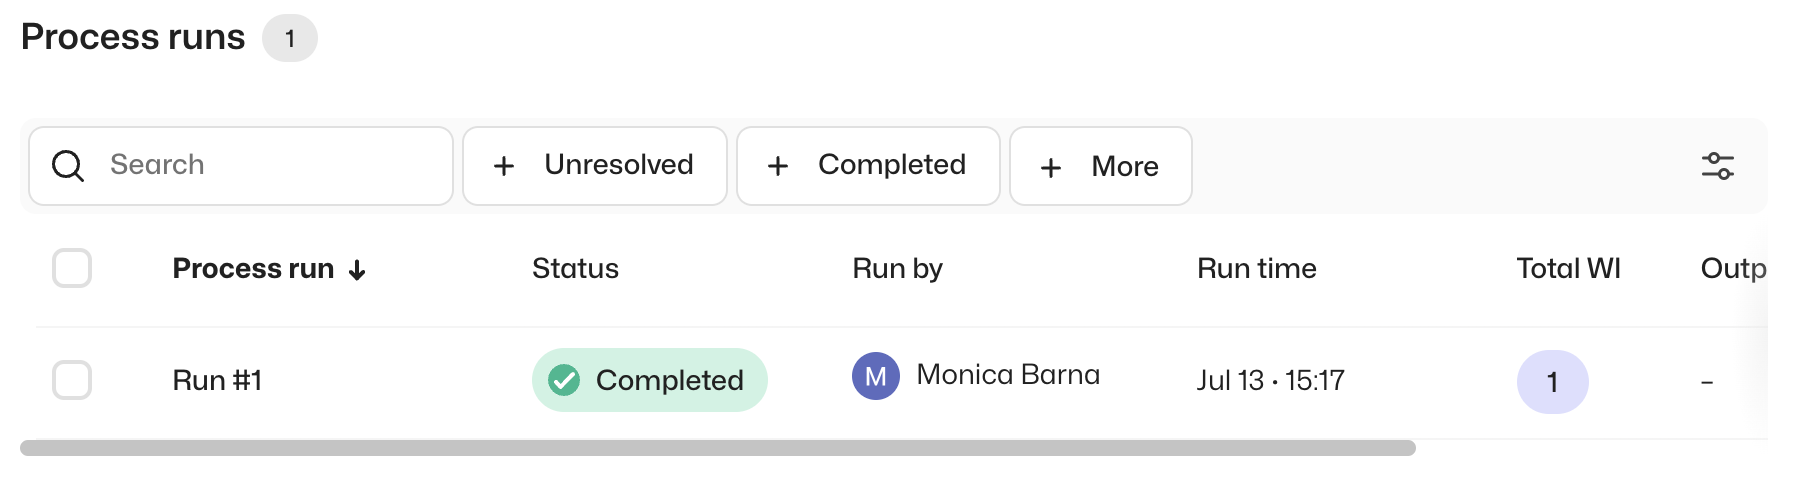
At the bottom of the screen, under the Process runs section, you see a new process run doing its thing.
Eventually, the state of the run should change to Completed. Hurray!
Note that the first run might take a bit longer than it normally would as an environment needs to be created.
Great! The robot is now happily running in the cloud!
Viewing the results
When the robot has finished running, we can look at the details of how the process worked out.
Click on the Run #1 link. You will see some high-level information regarding the process run.
Click on the step run row at the bottom of the screen. You will be taken to step run details.
You are on the "Artifacts" view by default.
You should see sales_results.pdf and sales_summary.png listed there! You can click to open those files.

Scheduling the process
We have already done so much to improve Maria's life. But right now, she would need to log into Control Room herself and push the Start button.
Or, even worse, call you every Friday at 12 to press the button, and that's no way to live your life! 😀
Instead, now that the robot is configured to run in Control Room, we can schedule it to run automatically!
Go back to Maria's weekly copy paste marathon process. Click Configure and select "Schedule" tab.
Toggle on the Schedule the Process option and select "Weekday" and from there "Friday" at "12:00". Click "Save".
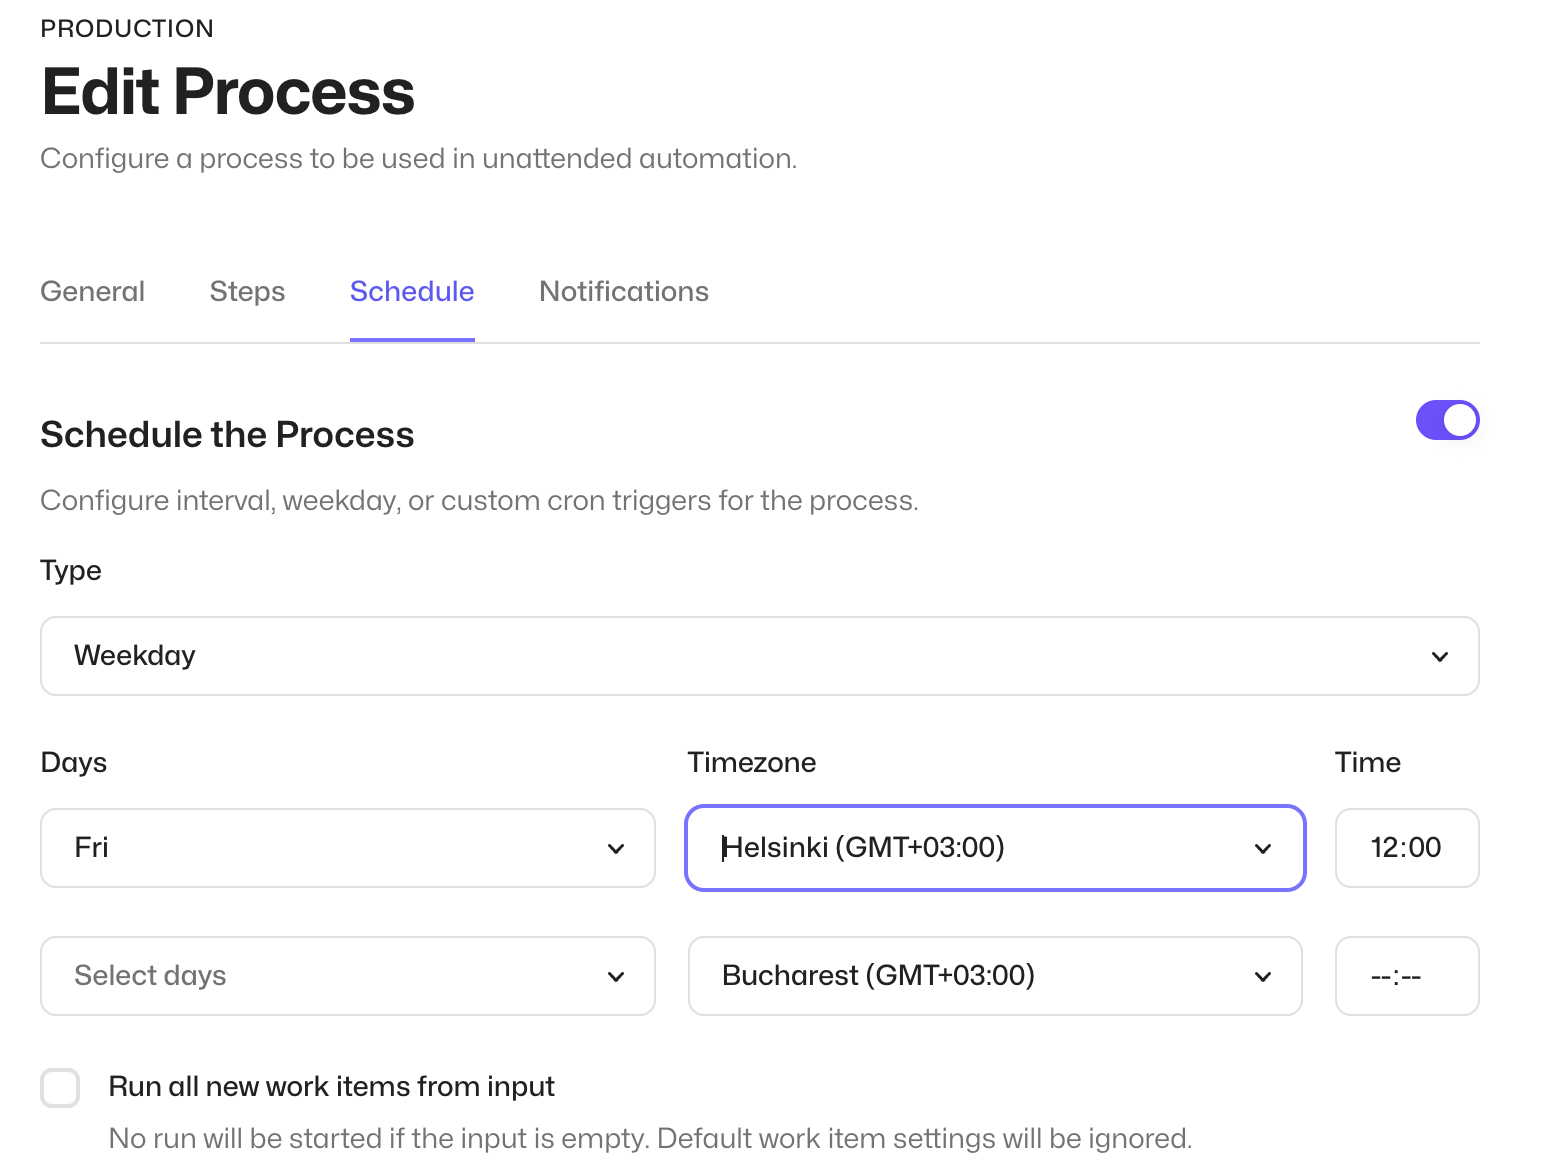
Now Control Room starts our robot exactly at 12 every Friday.
Maria is off the hook completely, and she can do more exciting stuff at RobotSpareBin. Maybe she will get a promotion; after all, optimizing this was her idea!
Other options for running the robot
Running the robot on your local machine with Visual Studio Code, or RCC, or in Control Room are not the only options.
If your robot needs to be run on a physical (or a virtual) machine to access, for example, desktop applications, you can use our applications to that:
- Use Robocorp Workforce Agent for unattended cases where the robot can work in the background without human intervention.
- Use Robot Assistants for attended cases where the robot can work together with humans to complete automated tasks!
Remember that running mission-critical robots just on the developer's computer is not recommended! 😅
What we learned
A lot!
- You can run robots in Control Room with the push of a button!
- You need to upload your robot's code to Control Room.
- You need to create a Process to run your robots.
- A robot step can be run in multiple processes.
- You need to select an unattended worker for your robot step when you add it to a process.
- A "unattended worker" is the actual computer that will execute the robot: it can be a Docker container in the cloud or a physical machine running the Robocorp Workforce Agent.
- You can schedule your processes in Control Room to run at specific intervals automatically.
- Robocorp Workforce Agent can be used to run your robots on any machine.
- Robot Assistants can work together with humans to complete automated tasks.