Manage Windows workers for automation tasks
With Setup Utility you will be able to manage a series of Windows Workers dedicated for your automation tasks. The Windows Workers are the appropriate option for setting up production ready environments.
Prerequisites
⚠️ Windows Workers are supported only on Windows OS.
Setting up a Windows Worker (as the Demo Worker) will heavily depend on the state of the current environment. Setup Utility runs the diagnostic checks in order to determine if the environment is suitable for remote execution of tasks. You can always quickly validate your environment.

As seen in the above diagram, it is highly recommended that you validate the environment before going through Worker Management.
If environment has warnings in the diagnostic checks, make sure you go through them in search of something critical.
In case of failures, we don't recommend setting up a Windows Worker. You might get into complicated situations that would require expert intervention.
⚠️ Before proceeding with the Windows Worker setup, please make sure you have done an end-to-end validation of the environment by running from Control Room a automation task with the help of the Demo Worker.
Worker Management
The Windows Workers Management page will provide ways to set up dedicated Windows Workers for production ready automation tasks.
⚠️ The Windows Worker will only be available for
Windows OSusers.
Add a new worker
To add a new Windows Worker, click on the New Windows Worker button to open up a dedicated dialog.
Adding a new Windows Worker is an easy multi-step process. Setup Utility will guide you through it all.
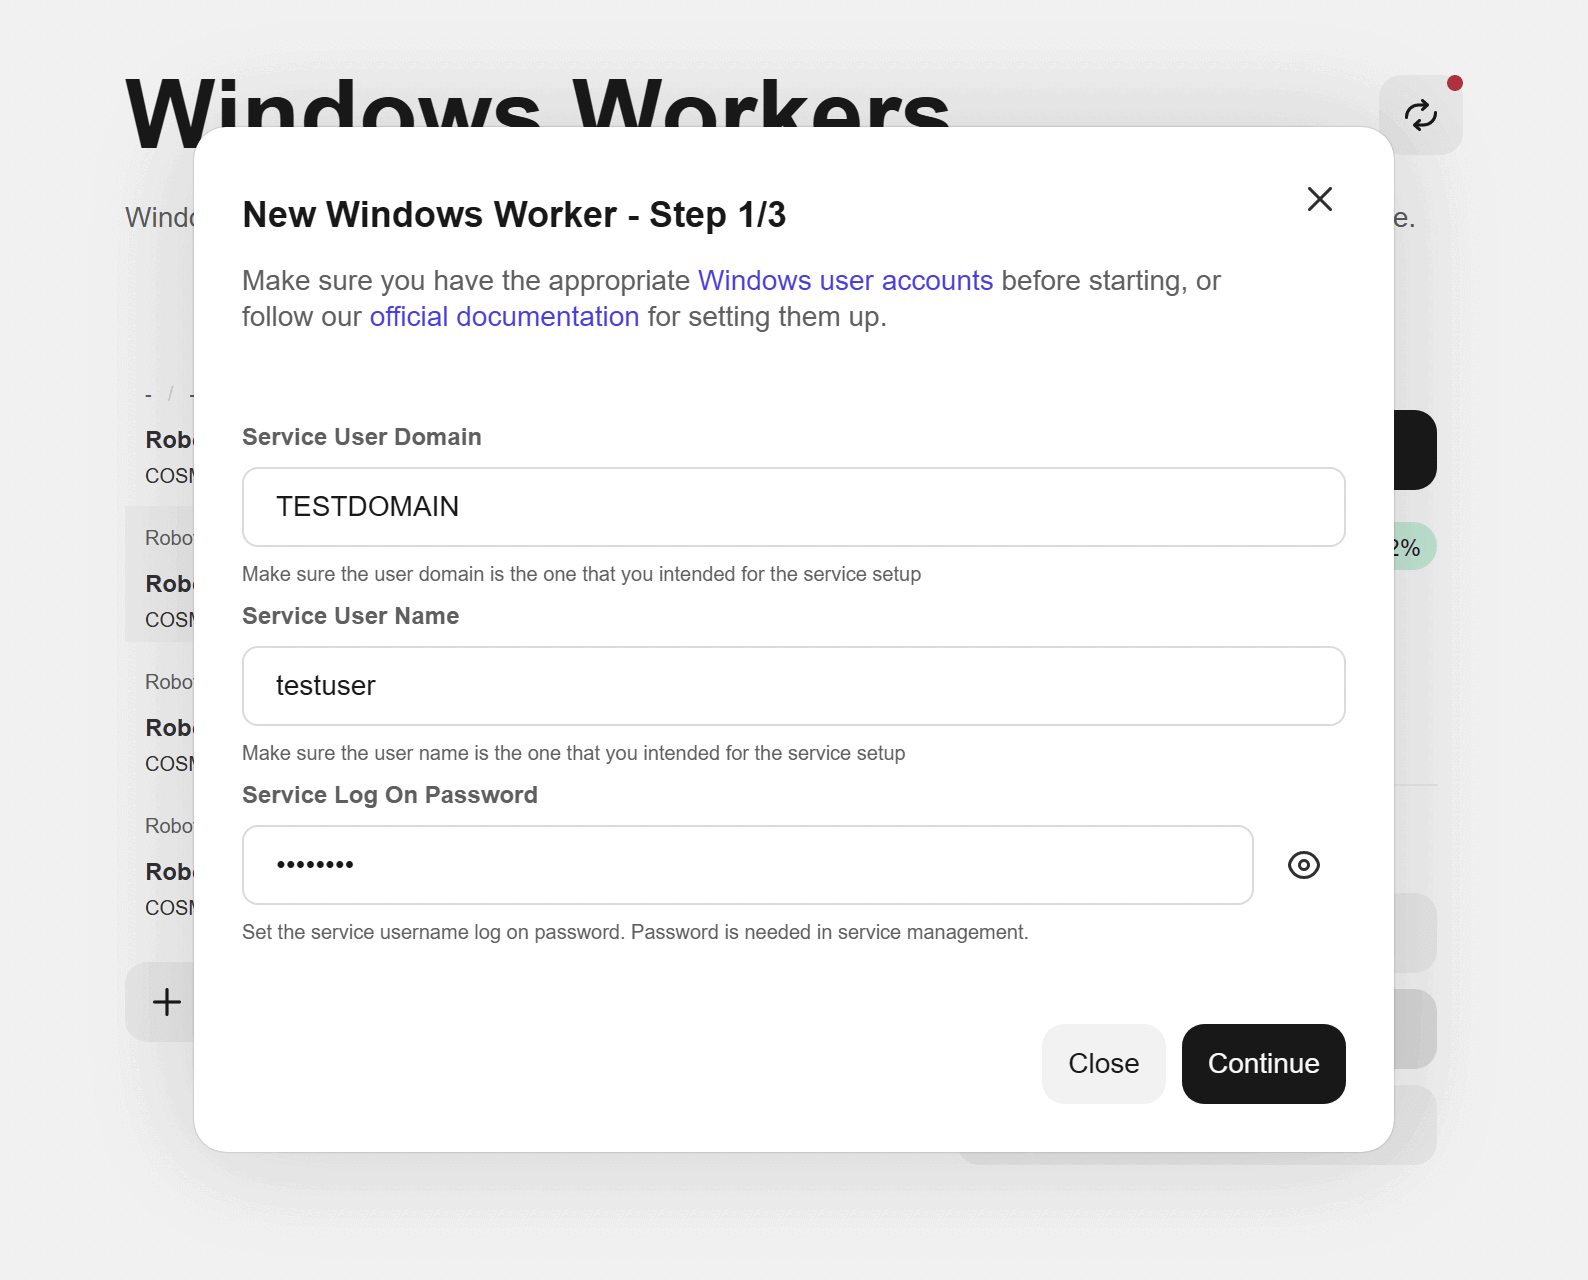
Step 1 - Specify the dedicated local user account
Make sure you have the necessary user account set up. Every worker needs a dedicated local user account. Using different accounts for different workers provides a series of benefits, but the one that stands out the most is the ability to create RDP connections without perturbing other workers' executions.
Please make sure you know the correct password for each user you create.
For more information, read about what unattended automations are and how to find the right worker setup.
You can easily open the Windows User Manager from Setup Utility or open the official documentation with the links provided in the application.
Setup Utility will detect the current user and fill in the details for you, but make sure you have the correct local user domain and correct local user name set up in the dialog.
Provide the correct Service User Domain, Service User Name & Service User Password in the dialog form in order to proceed. You will be able to get back to this step if needed.
Do not worry. The Service User Password is not saved anywhere on disk, it is only kept in the internal memory of Setup Utility. You can remove it anytime from
Worker Details > Menu Button > Clear Temp Passwordor by quitting Setup Utility.
Step 2 - Link the worker to Control Room
Inside the dialog you will need to provide the Link Token. The necessary token can be found in Control Room following this path:
- Access your dedicated Robocorp Control Room (possible URL: https://cloud.robocorp.com/)
- Make sure you select the right Organization and the right Workspace
- With the left side menu, navigate to the Unattended option where you'll find the Workers
- On the right central panel, you'll find the Linked Self-Hosted Workers section
- Click on Link Worker
- A dialog should show up giving you a unique token to use when linking the worker
- Copy to clipboard
Coming back to Setup Utility you'll have to paste the token in the Link Token field.
Afterwards, you can add a Service Name. There is also a suggestion in case you need it.
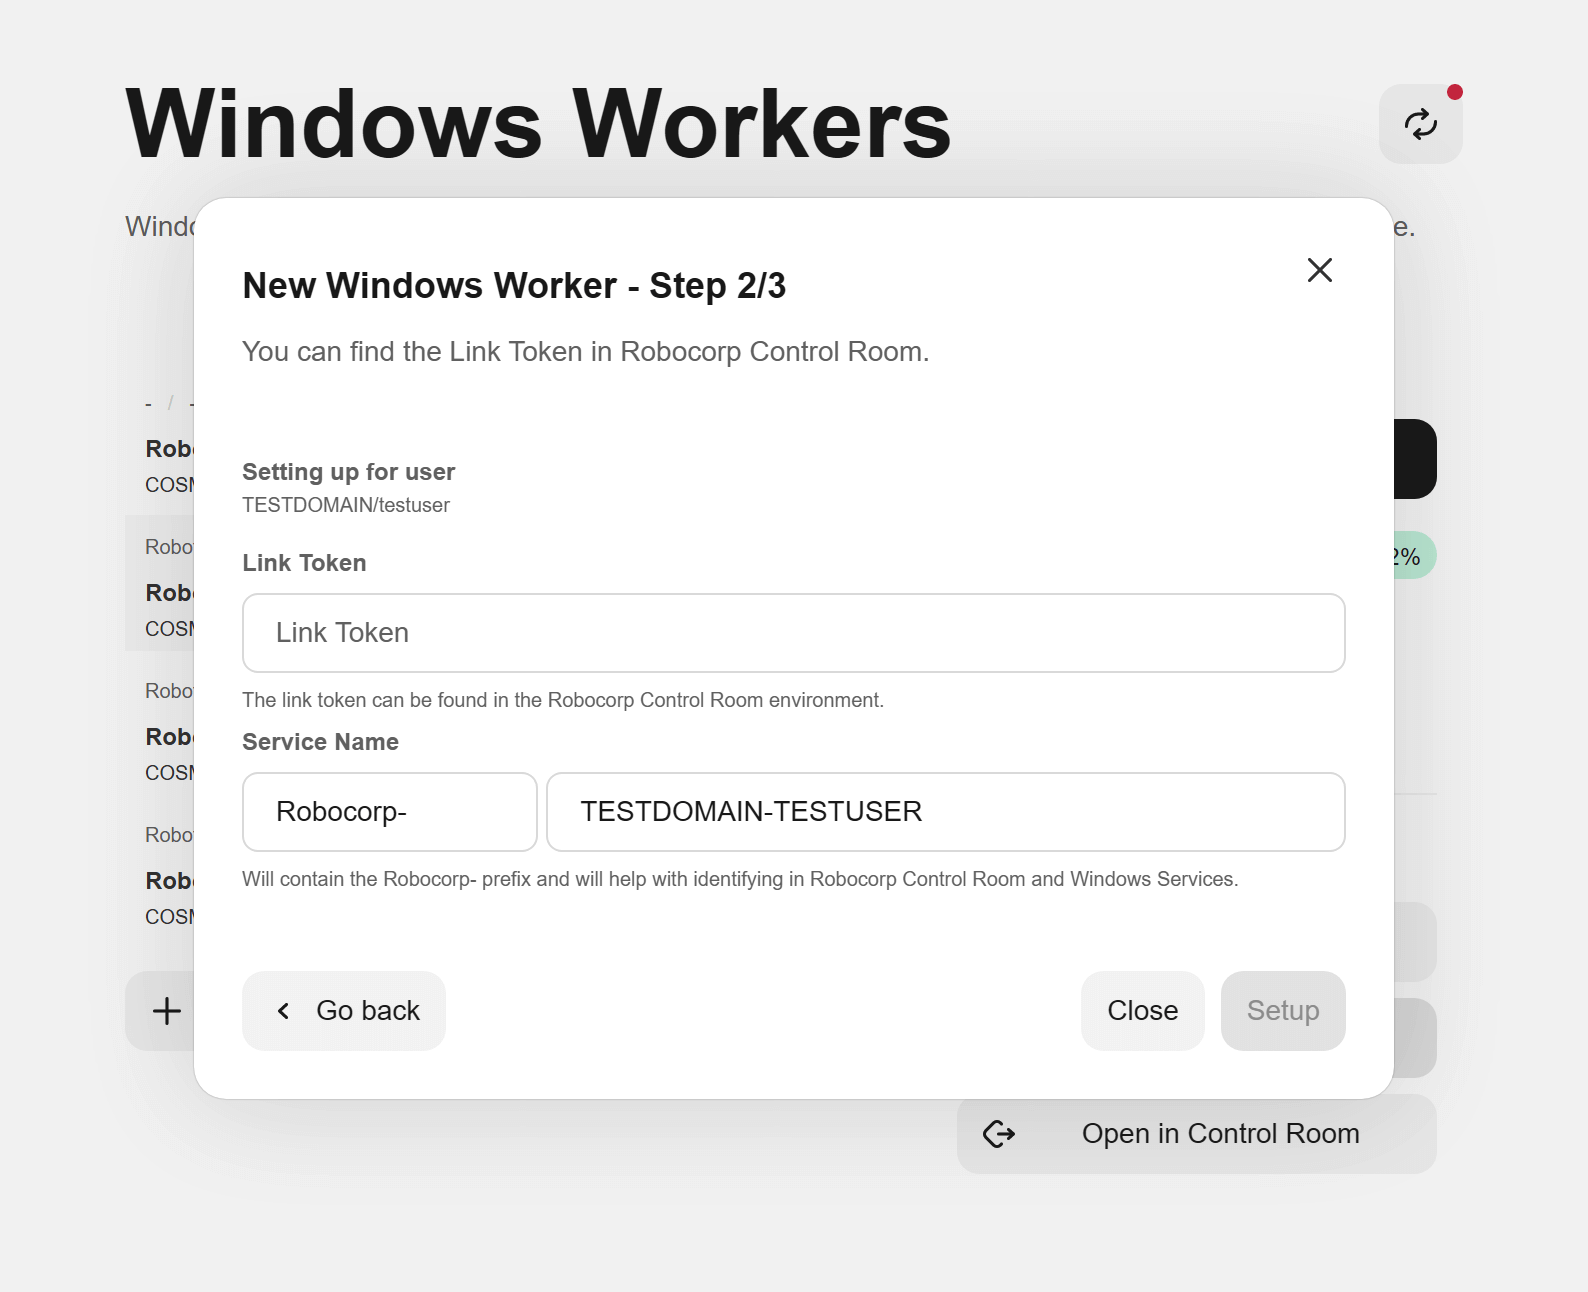
You can go back and make any corrections needed to the input fields before continuing!
Once you have all of fields filled in, you can Setup the Windows Worker.
Setup Utility will download the service helper (the executable needed), will verify the download and will install the worker, will validate the correct execution of the worker and, finally, it will link the Windows Worker to Control Room.
Throughout the process you might get asked by the system if you would permit the process to continue with dedicated permissions. Setting up the Windows Worker needs administrator permissions as it is a process that adds a new operating system service and enables access for the mentioned user to that service and other such facilities.
Please allow the process to continue by answering
YESto all operating system dialogs that might alert you.
Once linked, the Demo Worker will be visible in the Linked Self-Hosted Workers section in Control Room with an OFFLINE status.
Step 3 - Get information about the newly added worker
If everything went well while setting up the worker, you'll reach this step.
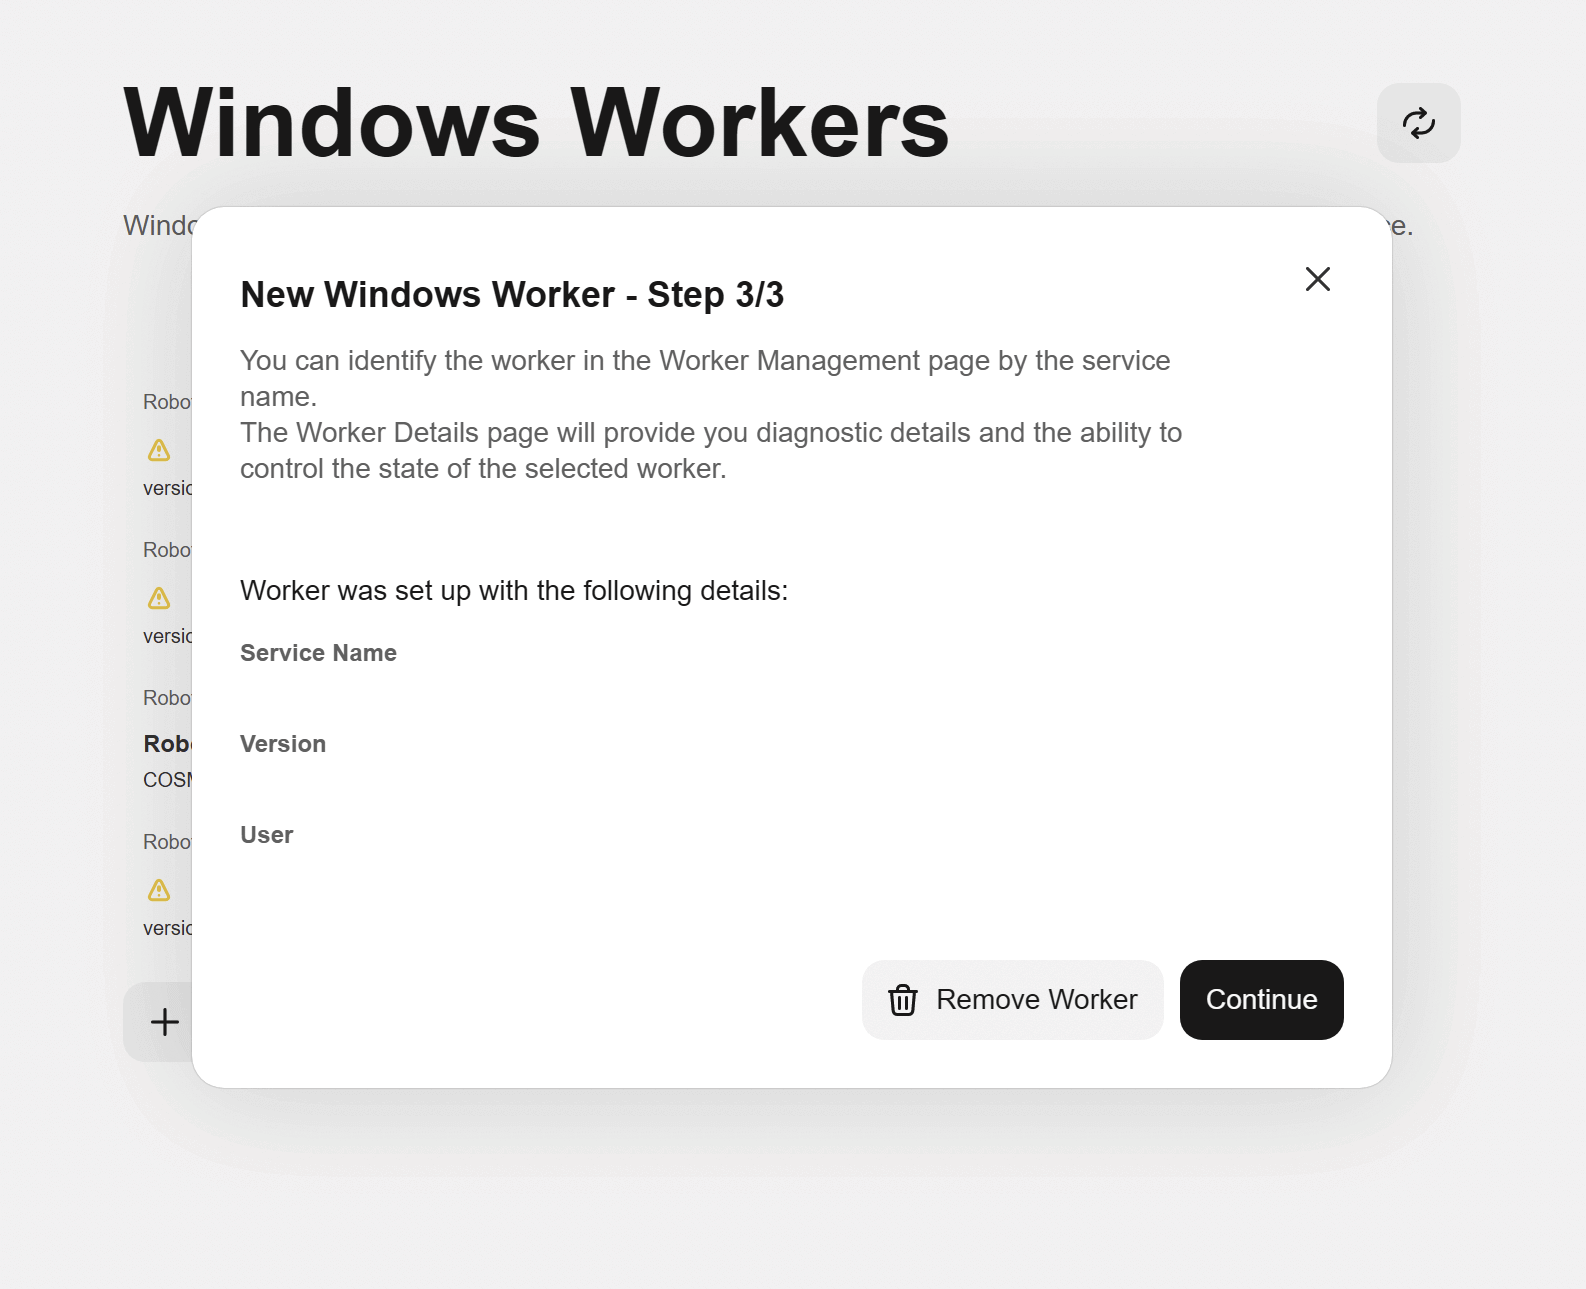
There is a short guide on how you can identify the newly added worker and the worker details.
If everything is fine, you will Continue to the Worker Details page.
🚀 You are good to go!
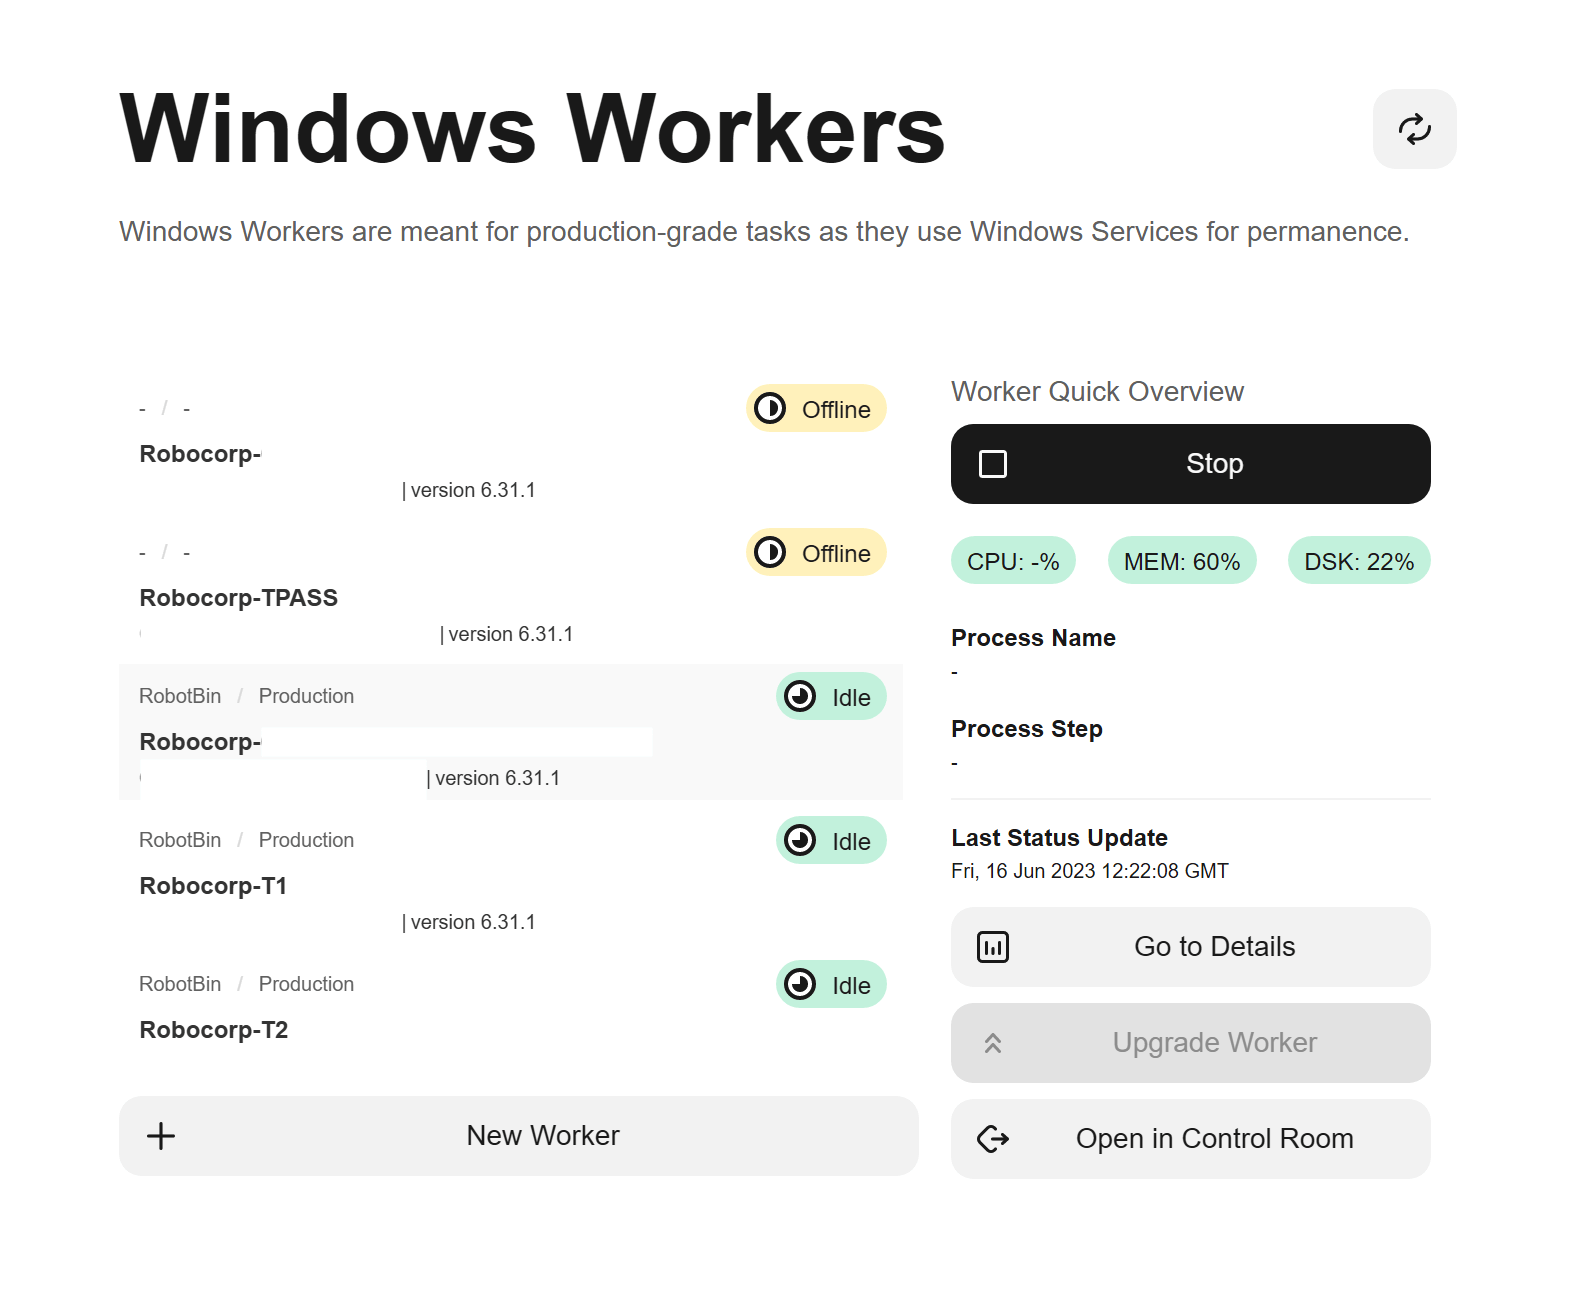
Worker Details
When it comes to the workers, Setup Utility will monitor their execution and will keep you informed throughout the process.
You can now Start the worker.
Once started, you will always have the possibility to Stop the execution.
⚠️ Quitting the Setup Utility application will stop the Demo Worker. The Windows Workers will still continue execution as operating system services. They are also persistent - if the device is restarted, the Worker will restart as well.
The Worker will have different States of execution.
| Worker Details OFFLINE | Worker Details IDLE | Worker Details BUSY |
|---|---|---|
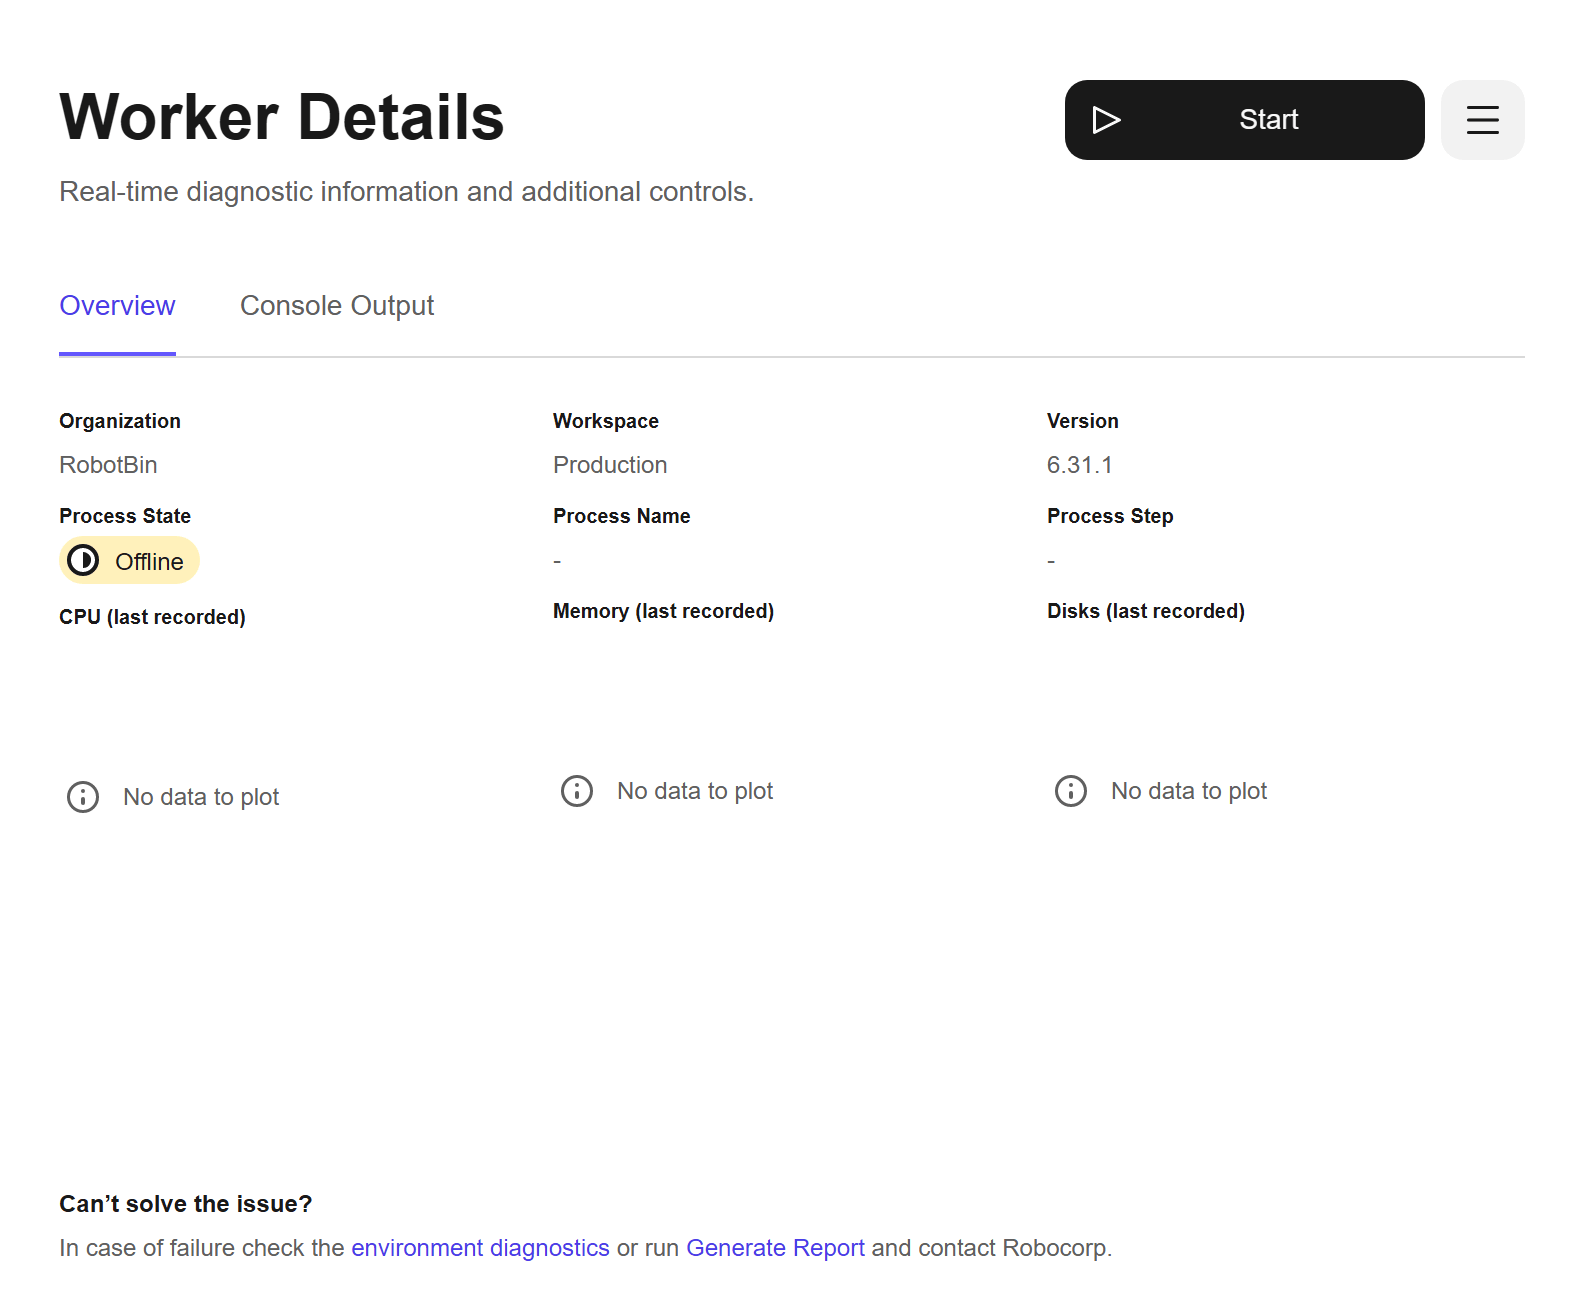 | 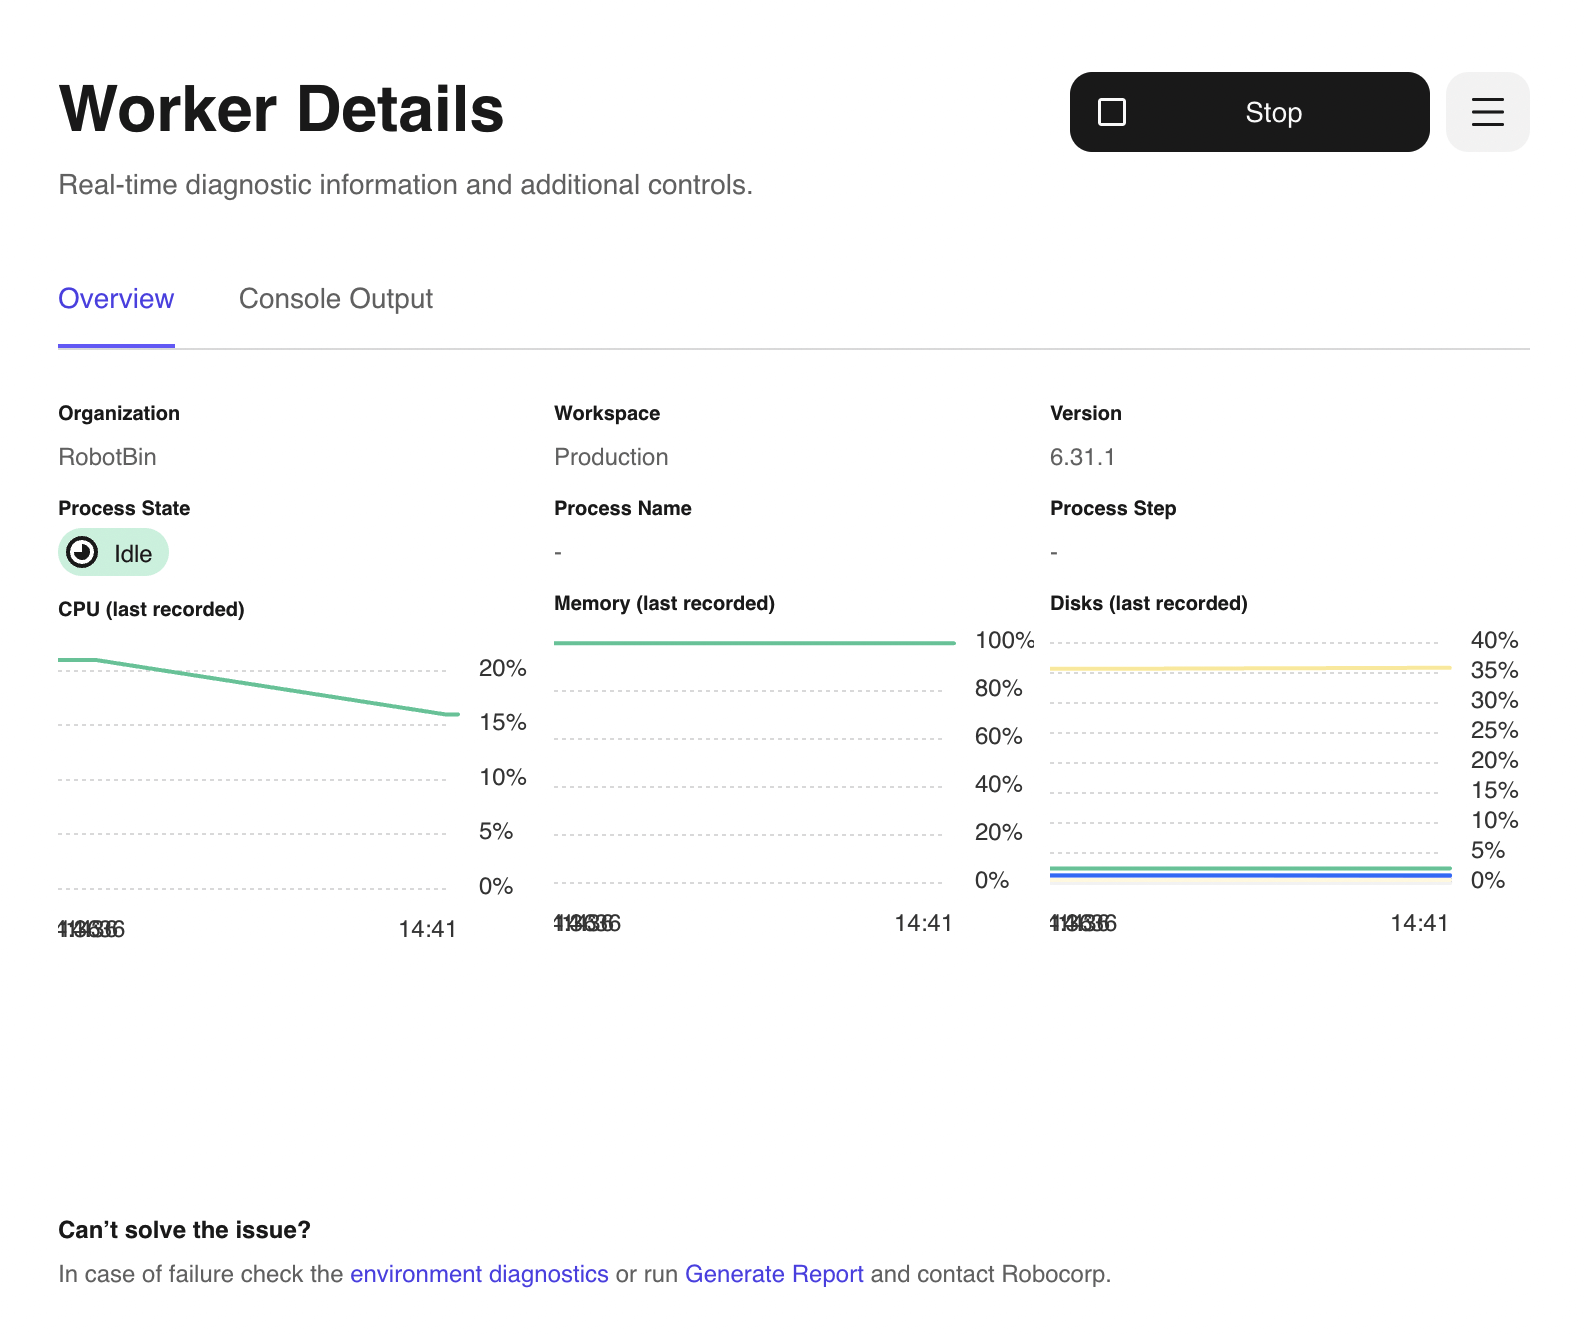 |  |
- while OFFLINE, the Worker is not currently running and not capable of receiving tasks
- while IDLE, the Worker is currently running and is waiting on tasks & processes to be assigned to it
- while BUSY, the Worker is executing the task assigned to it
You can follow the execution by inspecting the Console Output. As Windows Workers are set up as Windows Services, the console output is not always available, but we do gather it every chance we have.
If everything is working as expected, you can check the status of the worker in the Linked Self-Hosted Workers section in Control Room. If you started the Worker, the new status should be Idle. This means that the Windows Worker is now capable of receiving tasks.
For better control of the Windows Worker check the Menu from the Worker Details.
Remove Worker at any time. By unlinking, Setup Utility will break the connection with Control Room, but, for security reasons, will not delete the worker entry in Linked Self-Hosted Workers.
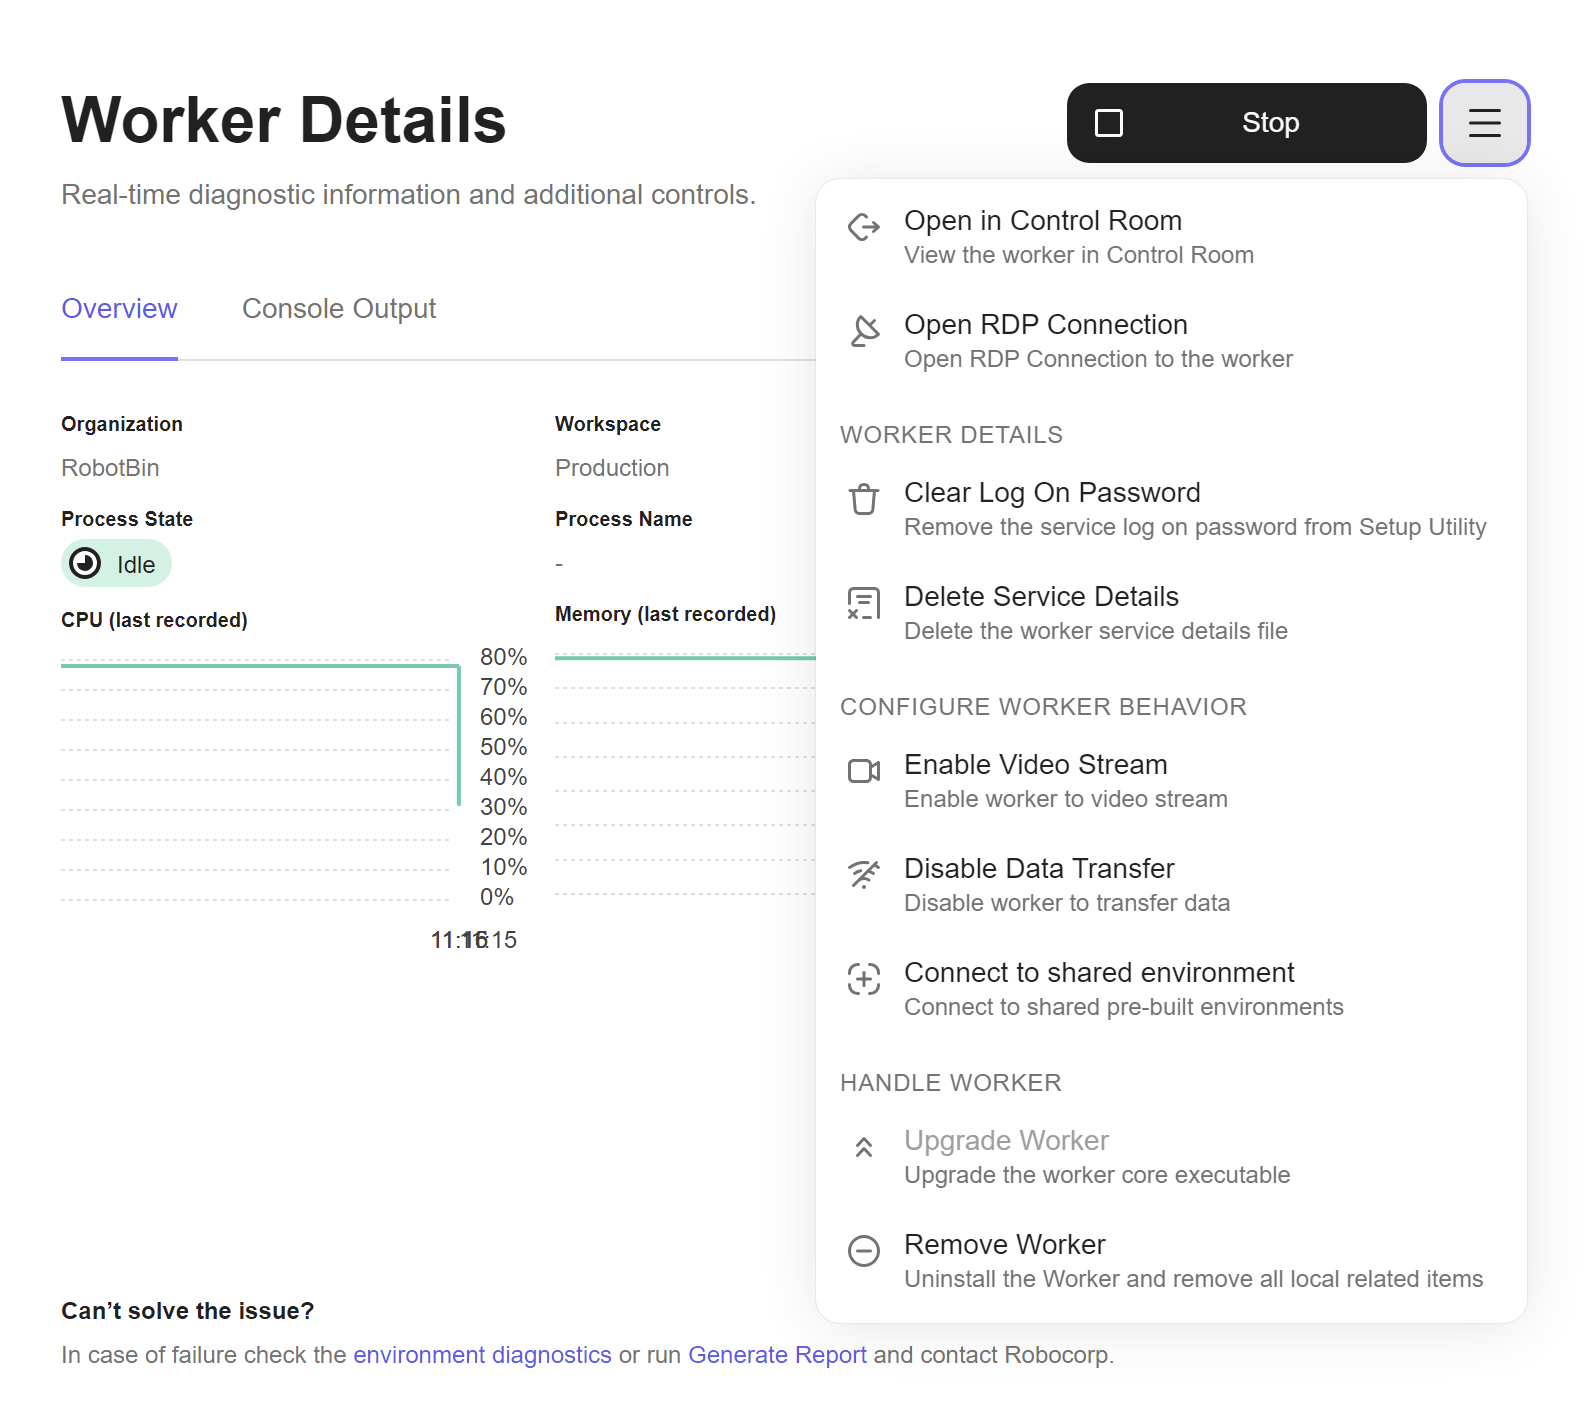
The Menu Button will help with additional actions for the Worker or user.
- Open in Control Room will directly take you to the Linked Worker in Control Room
- Open RDP Connection will attempt to open a RDP connection to the selected Worker
- Clear Log On Password will clear the temporarily saved Service Password from memory
- Delete Service Details will remove all relevant details about the service that will identify it against a specific domain, user and service name.Please be careful as this is a destructive operation.
- Enable Video Stream or Disable Video Stream will enable or disable the Worker's ability to send a video stream to Control Room
- Enable Data Transfer or Disable Data Transfer will enable or disable the Worker's ability to send data to Control Room
- Connect to shared environment or Revoke shared environment will connect the Worker or revoke Worker's connection to the Globally shared environment
- Upgrade Worker will provide you the ability to upgrade the current worker to a newer version
- Remove Worker will uninstall Worker and remove all relevant details
⚠️ Note: All changes to the configuration of the Worker, Enabling/Disabling Video Stream/Data Transfer or Connecting/Revoking Shared Environment, will require restarting the Worker in order to have the intended effect.
Shared Profiles
You might find yourself in the situation where your worker needs to function within certain parameters controlled through the rcc profile.
In order to propagate the current workable rcc profile from the Administrator account to the User account, please check ways to
Deploy Profile To User.
When setting up a new Windows Worker, this is done automatically for you.
🚀 You are good to go!